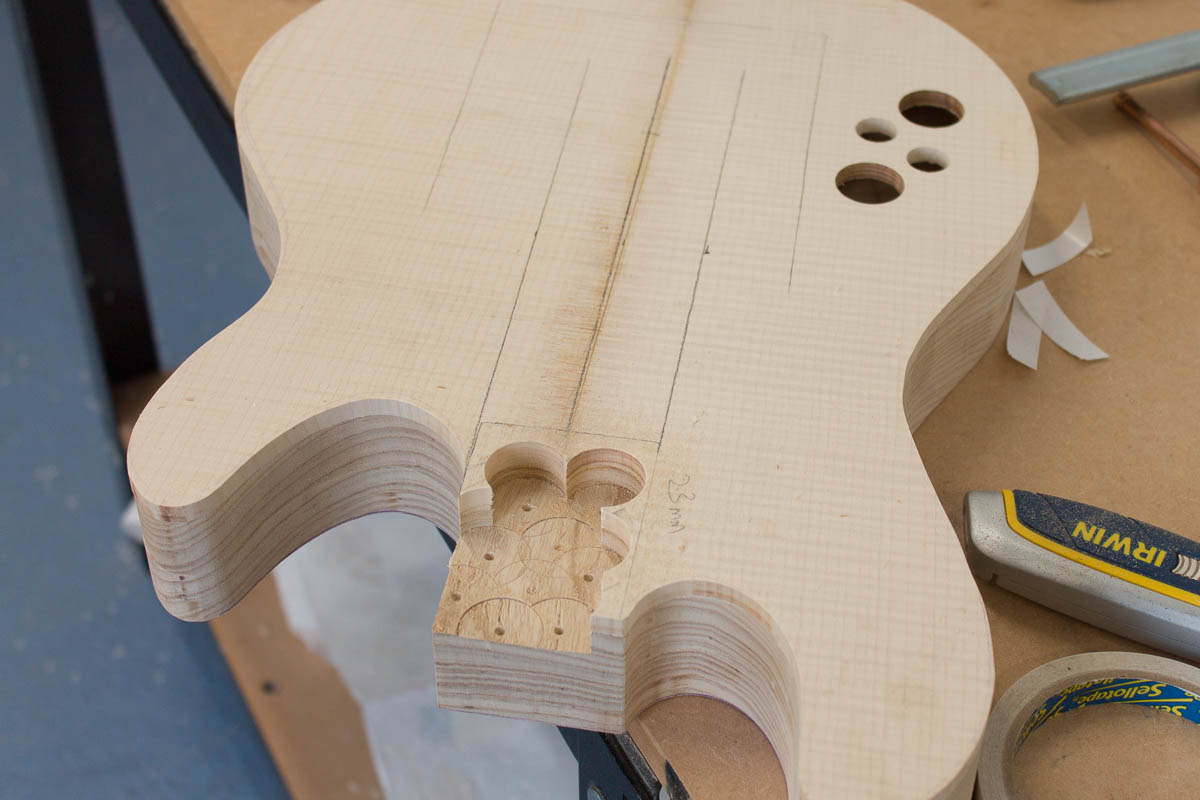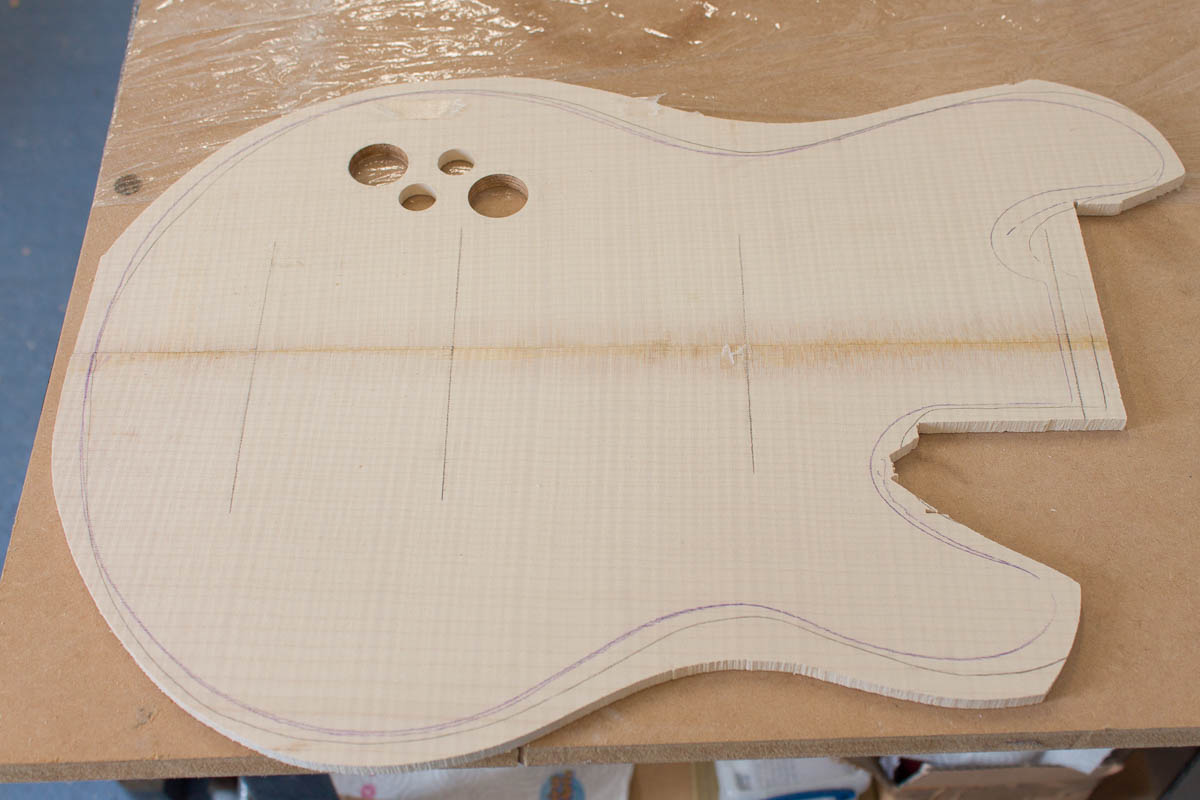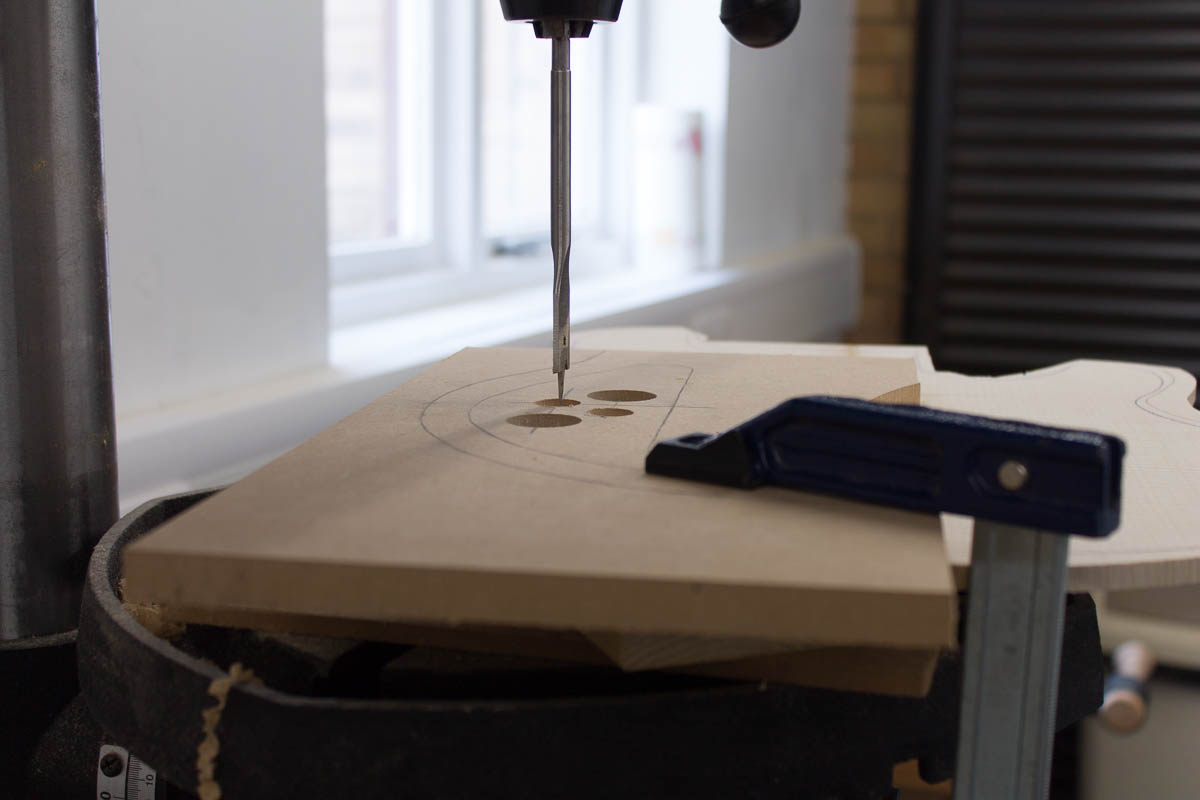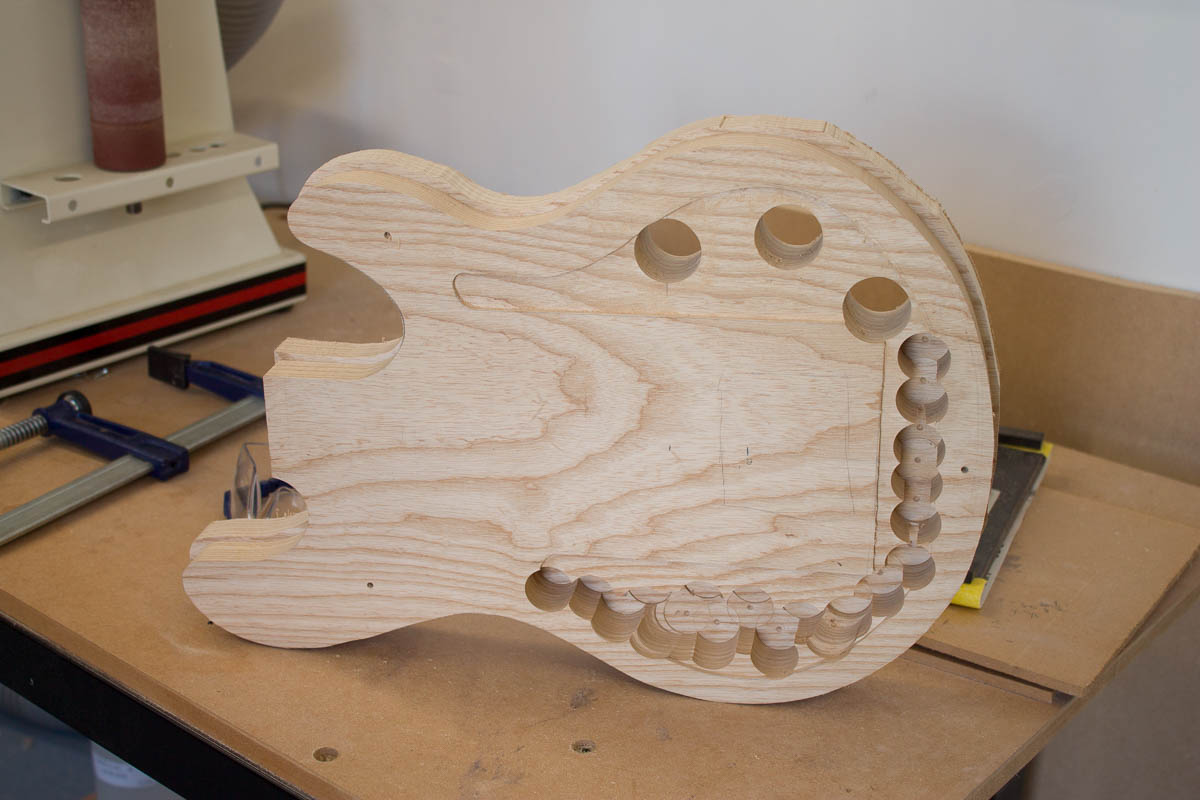
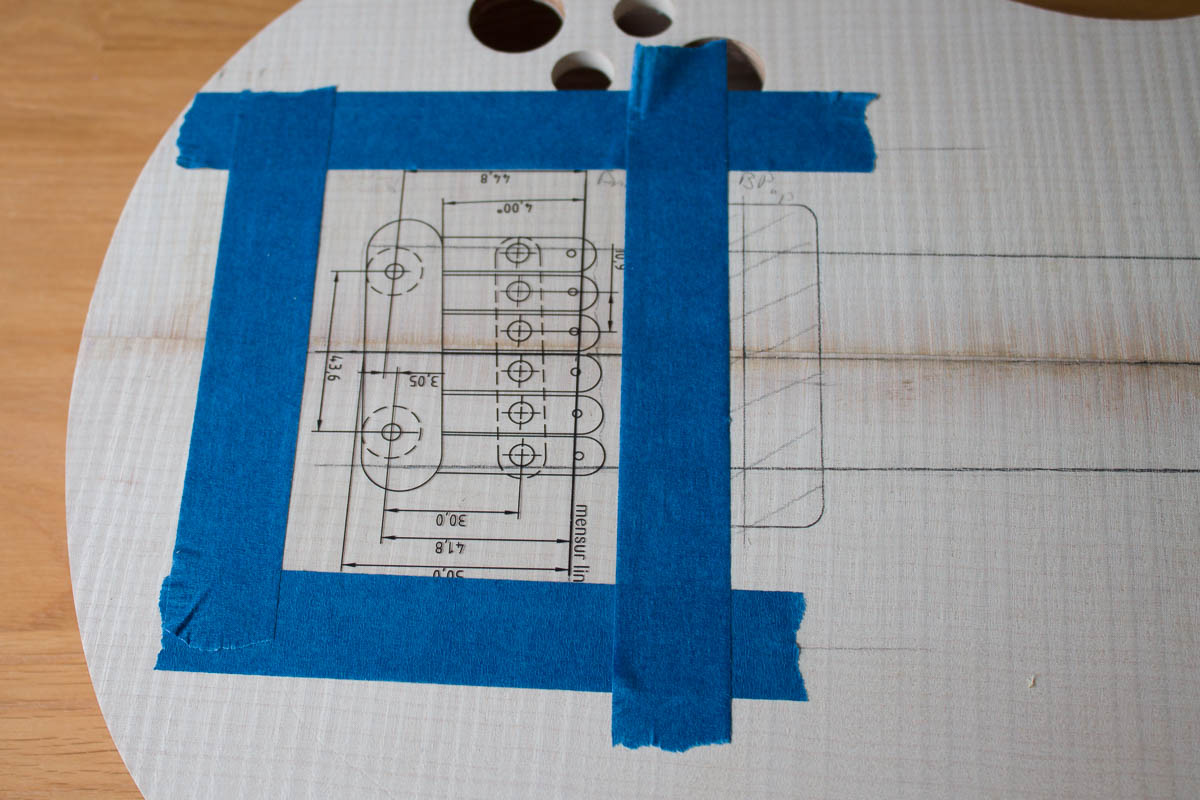
Schaller provide a template which they advise to tape on and mark the drill holes through (the PDF photo installation guide is available on their website is superb). As this is my first time using the bridge, I’m following the instructions exactly, with 6mm holes for the bridge screws and 5.5mm for the strings.

I got 7 holes pretty much spot on. In the picture you can see the high E hole is a touch too close to the neck (not sure how). It looks like it’ll be fine ok, thankfully it’s the narrow most string and thus the largest margin for error.
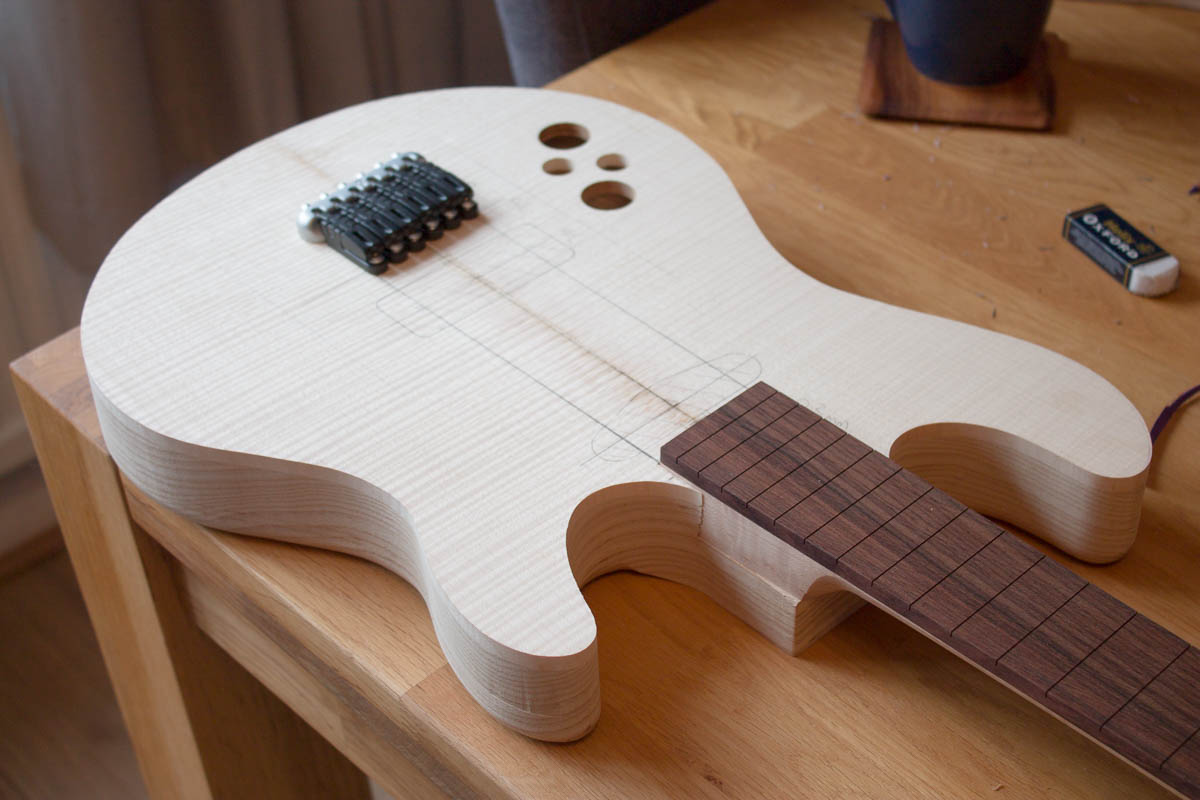
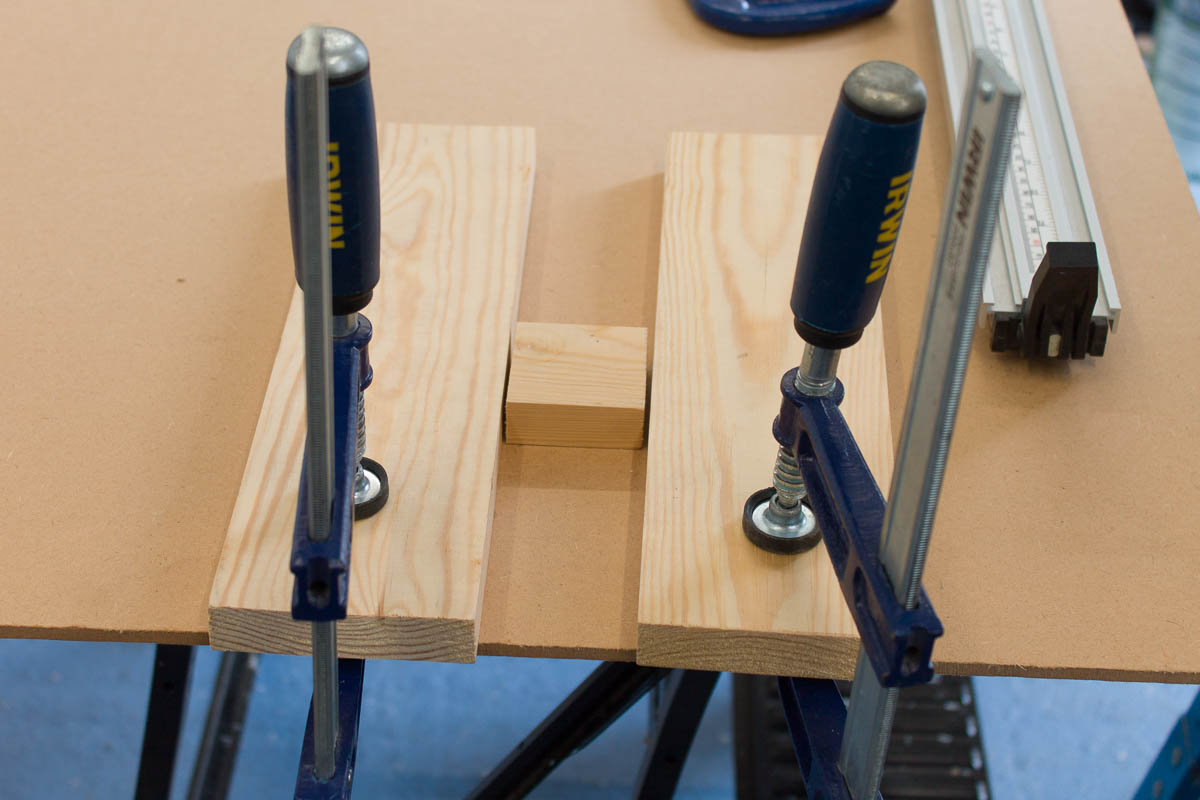
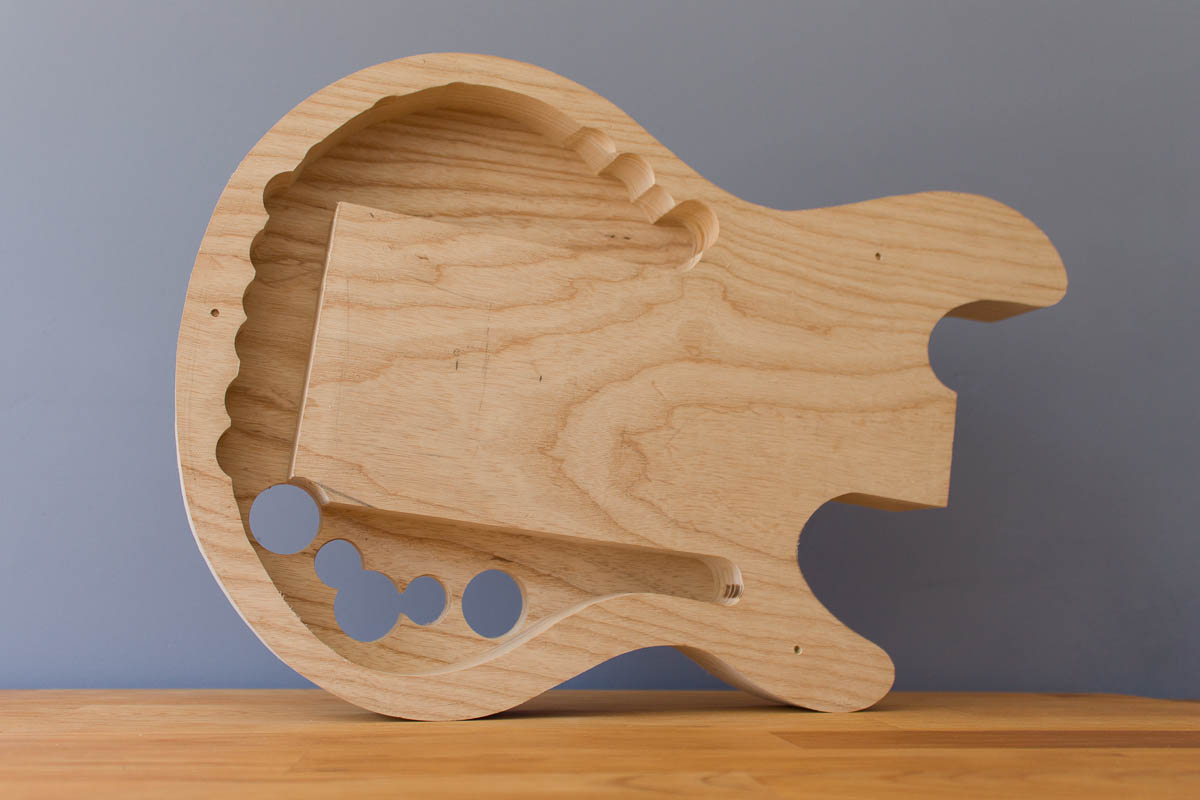
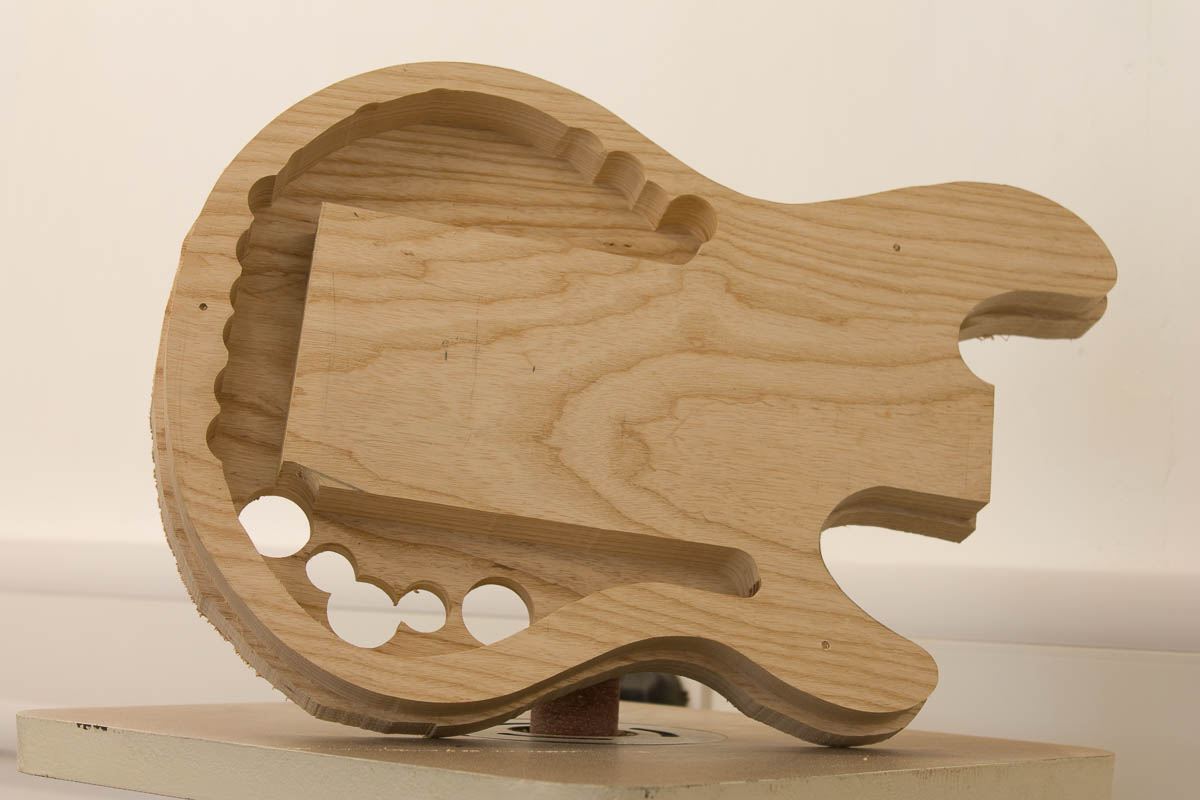
The body is too thick for the provided screws, so I’ve counter sunk the bridge ferrules on by back by 12mm instead of the suggested 6mm. It looks fine and the bridge is a nice strong fit to the guitar. I’ve yet to buy the 11mm router bit to do the string anchor block, so not quite finished on the bridge.
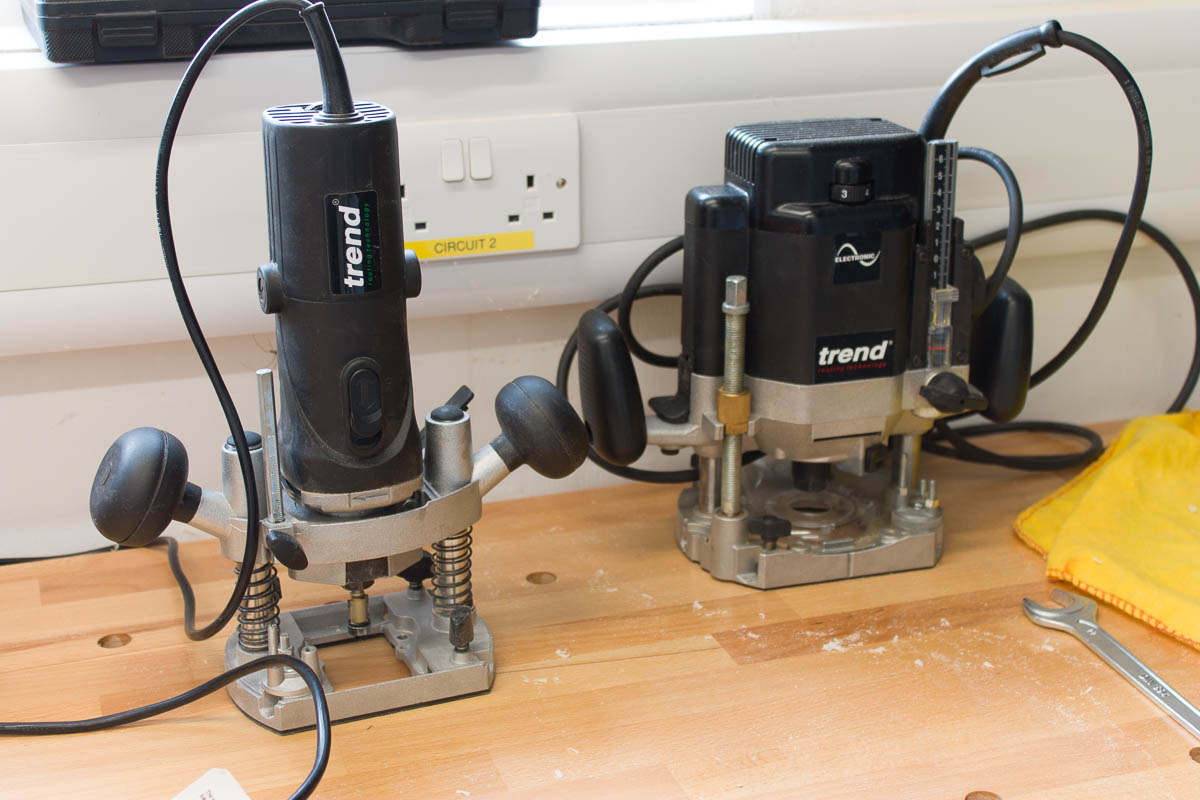
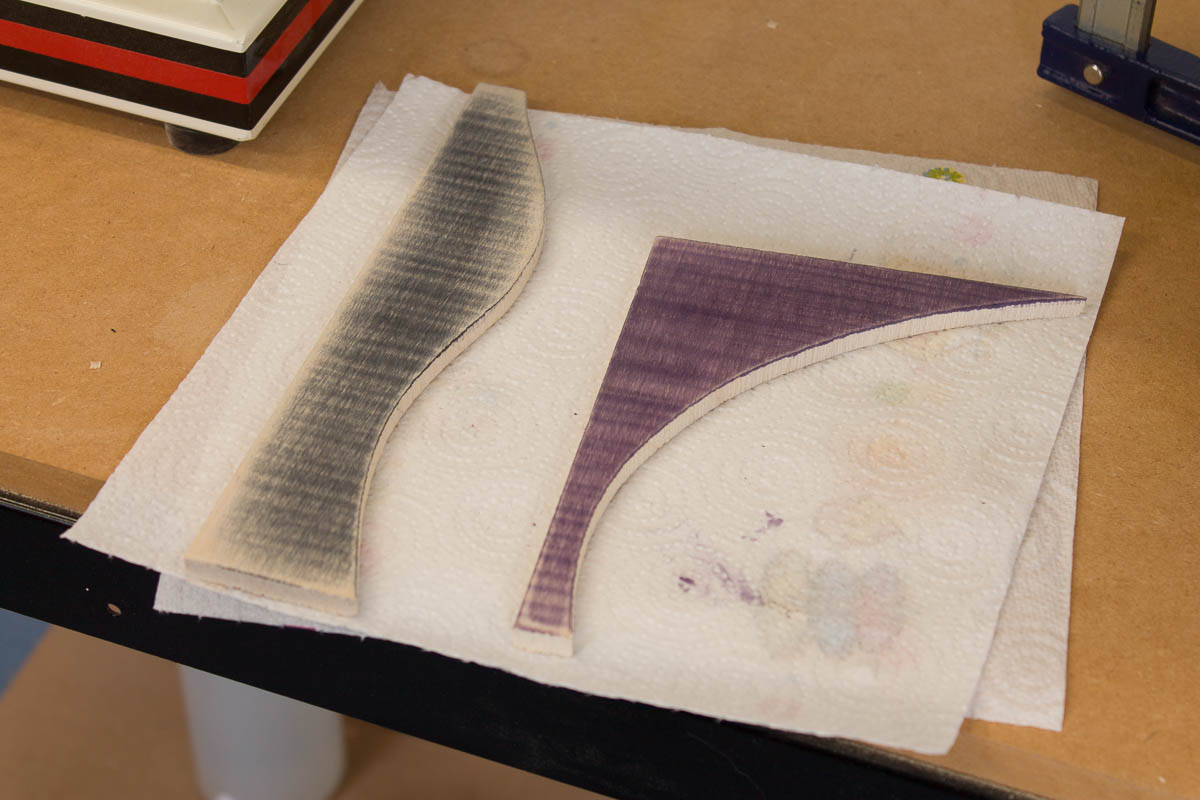
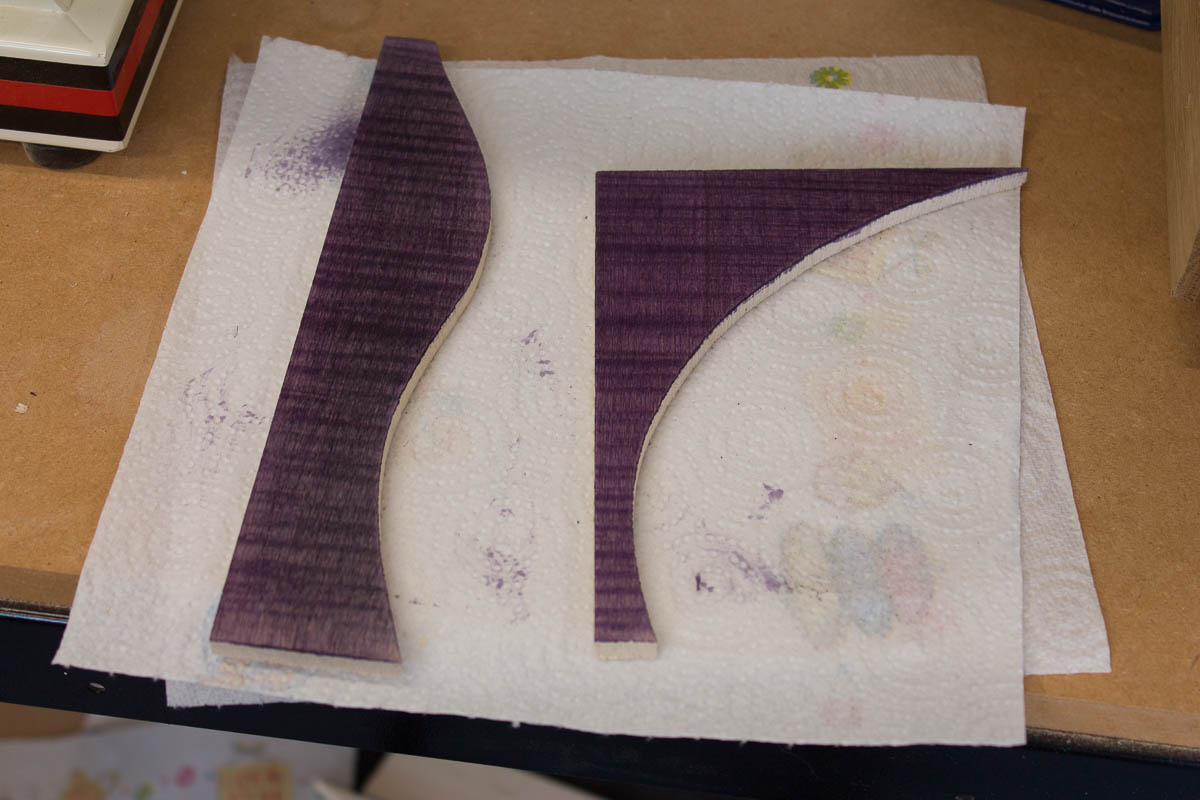
(When ever I shoot the pictures inside I forgot to take colour balance target pictures, hence the two whiter images. I could try and hand correct, but for clarity I’m just leaving them as is.)