Headstock colour start – Sept 2016

I’m using Rothko and Frost spirit based dyes for the whole project – (Spirit Based Dye). I’m also using thier products for most of the top coats (nitro for the headstock, water based for the body). The one exception is the back of the neck which will be Birchwood Casey Tru-oil,

The headstock is masked to minimize the amount of clean-up on the edges I’ll need to do (using a double layer of painter’s tape). A single black coat is first applied, which will be sanded back.

Posted in Guitar Three | Comments Off on Headstock colour start – Sept 2016

Fret fitting – Sept 2016

For this project, I am again using prep-slotted fretboards. The risk to creating an unplayable guitar is too large by doing it by myself (each one takes a long time to build). One glaring mistake on this neck is the fretboard is not square to the neck, the frets lie at 2-3 degree angle. I don’t believe this actually affects tuning as the spacing is consistent and bridge can be adjusted to compensate for it. Next guitar it’s one to make sure I get right though.

Hammering in frets I think led to some of the inconsistencies (combined with not releveling the neck after applying the radius). This time I’ve create a fret press. I bought the arbor press second hand and then ordered a fret press head (far cheaper than paying for the whole lot to be shipped internationally!). I had to drill the arbor to take the head (first time I’ve drilled metal). The end result is a far more controlled and consistent fret fitting method, very pleased with the results so far. Of course, only once it’s strung up will the end result be truly judgeable.

After pressing in the frets, I did the normal trim and bevel of the fret ends. Interestingly at this stage the frets have picked up some scratches in them, I’ll have to polish them out as a post build stage.

End result – still some sharp edges to tidy, but mostly there.

Posted in Guitar Three | Comments Off on Fret fitting – Sept 2016

Fretboard prep – Sept 2016

After a bit of a break on the guitar project, I’ve dived back into working on the neck. First job is to radius the fretboard (going for a 12″ radius on this one). I’ll see how it compares to the 10″ on my MusicMan Axis Super Sport.

Fretting has been the weakest area of the previous two guitars, so I decided to change my approach.

I used an iterative approach of moving between flattening the fretbaord and radiusing the board. Using pencil marks to find the high spots, I worked until the fretboard was flat along it’s length with the correct curvature across. Interestingly you can see the high spots are at two defined points.


Posted in Guitar Three | Comments Off on Fretboard prep – Sept 2016

Test Fit – August 2016

Quick test fit of everything now that the neck is drilled and can be attached. It’s interesting that the outline of this guitar is a lot softer and less sharp in angles. Part of that is to do with the lack of contour on the top, but most is a non conscious decision as it’s gone along.

The Lindy Fralin’s from the Uk dealer are supposedly 2-3 weeks out, so fingers crossed they arrive in that time frame. It would be good to check the fittings and get onto final sanding of the body. For now the focus switches back to the neck, along with another test for the body finish.

Posted in Guitar Three | Comments Off on Test Fit – August 2016

Cavity Cover – August 2016

I was thinking of using a piece of the ash to make the cavity cover, however I was looking at the cutoff from the glued up top and realised it could make a nice cavity cover.

I need to work out a way of matching a cover to the hole it’s cut to sit into. It feels there is a way using a router and some trickery, but for now it’s down a bit roughtly by eye. The end result is *ok* but not really the cleanest fit. Another thing to improve on for “next time”.

Posted in Guitar Three | Comments Off on Cavity Cover – August 2016

Test Finish – Take #2 – August 2016

The first piece died in a spraying failure (I had dropped the can and damaged the spray nozzle, so my own fault). So back to it with the other side. Black first.

Then sand back, tried to leave a bit of a gradient to see if it would cause a slight burst effect.

It didn’t! This is coat one of purple.

After a second coat, very little change.

Posted in Guitar Three | Comments Off on Test Finish – Take #2 – August 2016

Bridge Back Plate – August 2015

The last bit invovled with installing the bridge is to route the body to accept the metal string plate. This requires a 11mm router bit (specially bought). Using a straight edge and two end stops I cut the channel. Due to the slightly awkward position of the controls on the router, the bit slipped a small bit as I was turning off the router (visible as a small dent on the bottom left).

The detailed instructions curiously do not mention grounding the bridge. However, on searching the net, the bridge designer has his own website which states the only possible grounding solution is to ground the back plate. I’ve drilled from the back route into the control cavity, through which I’ll put a ground wire and either solder it to the end block, or put some conductive tape in there for it to attach to.

Posted in Guitar Three | Comments Off on Bridge Back Plate – August 2015

Cable channels – August 2016

This is the third time I’ve done the pickup cable channels by hand. Looking at the thickness of the top, I could of got away with cutting them with a router and then gluing on the top, but I wasn’t sure. Instead, it’s 12″ long drill bits in a hand drill!

With the centre line of the top and the trussrod access cutout, I had some strong visual clues to help the drilling. I started at the neck pickup route in the centre.

Landed a tiny bit lower, but pretty central, in the bridge pickup route – so I’m happy with the result.

Posted in Guitar Three | Comments Off on Cable channels – August 2016

Pickup Routes – August 2016

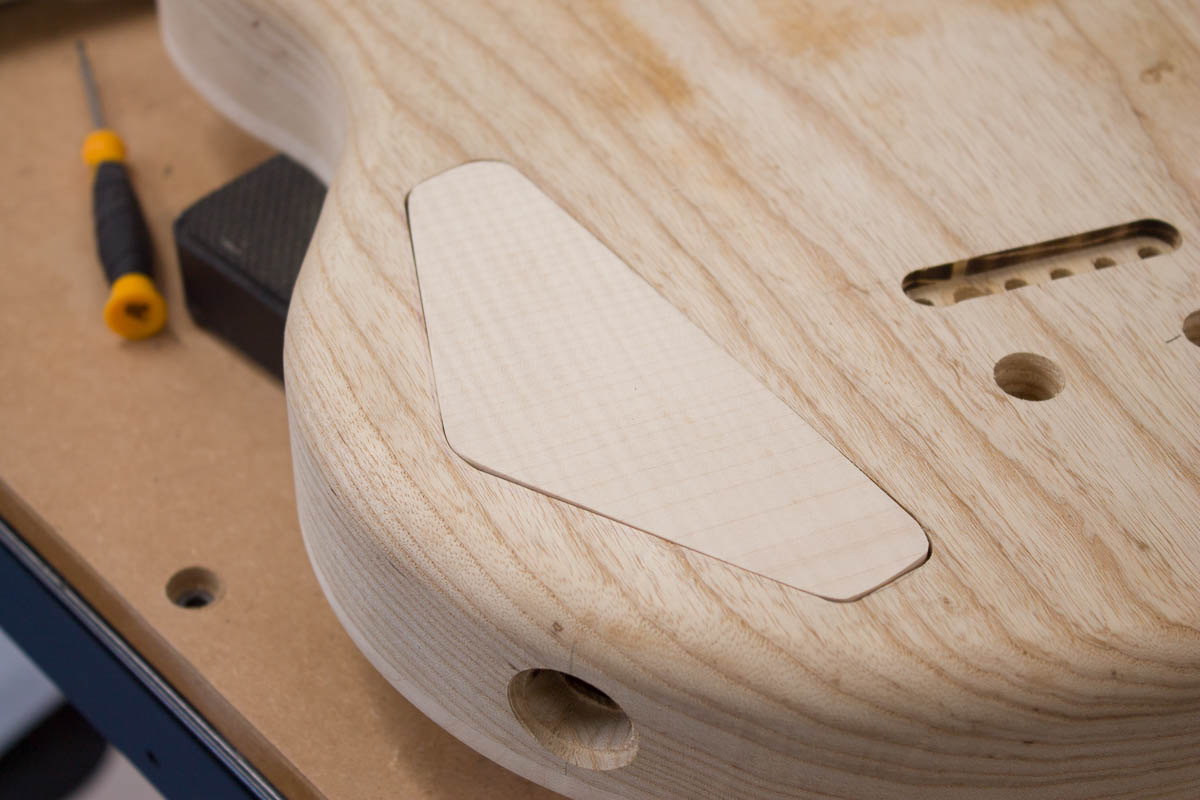
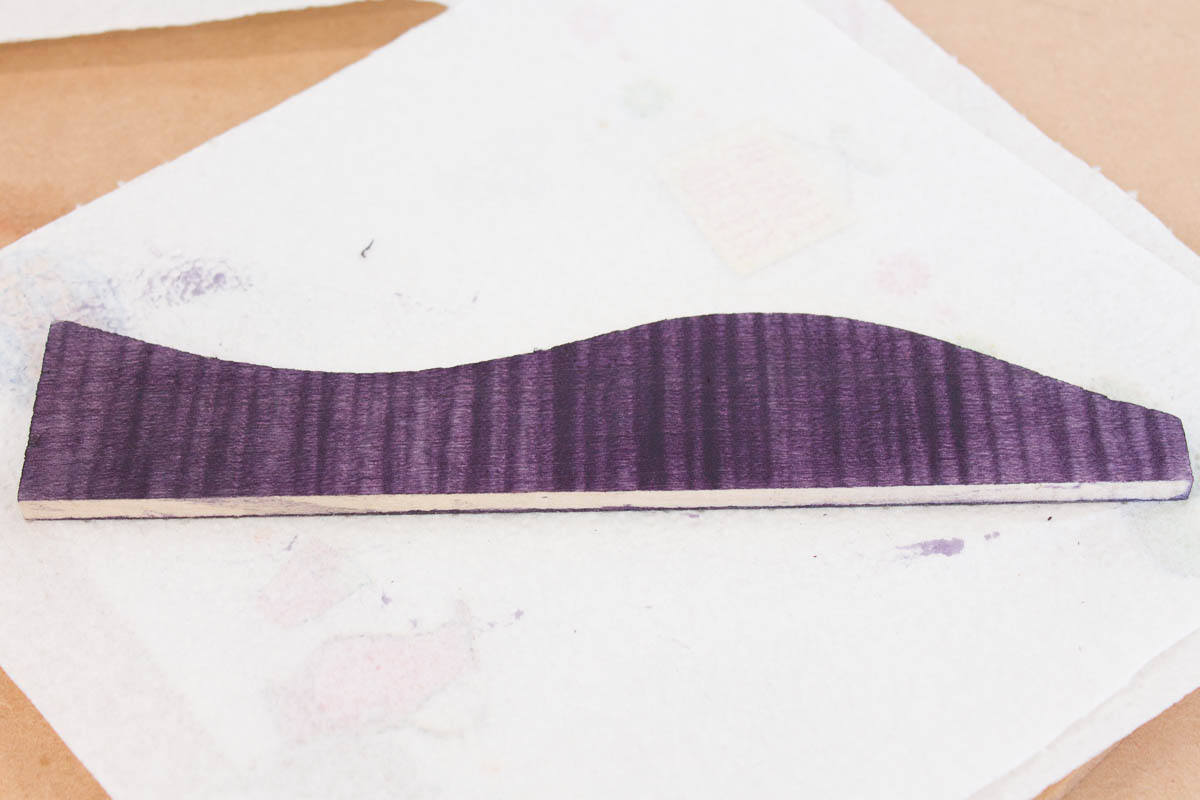
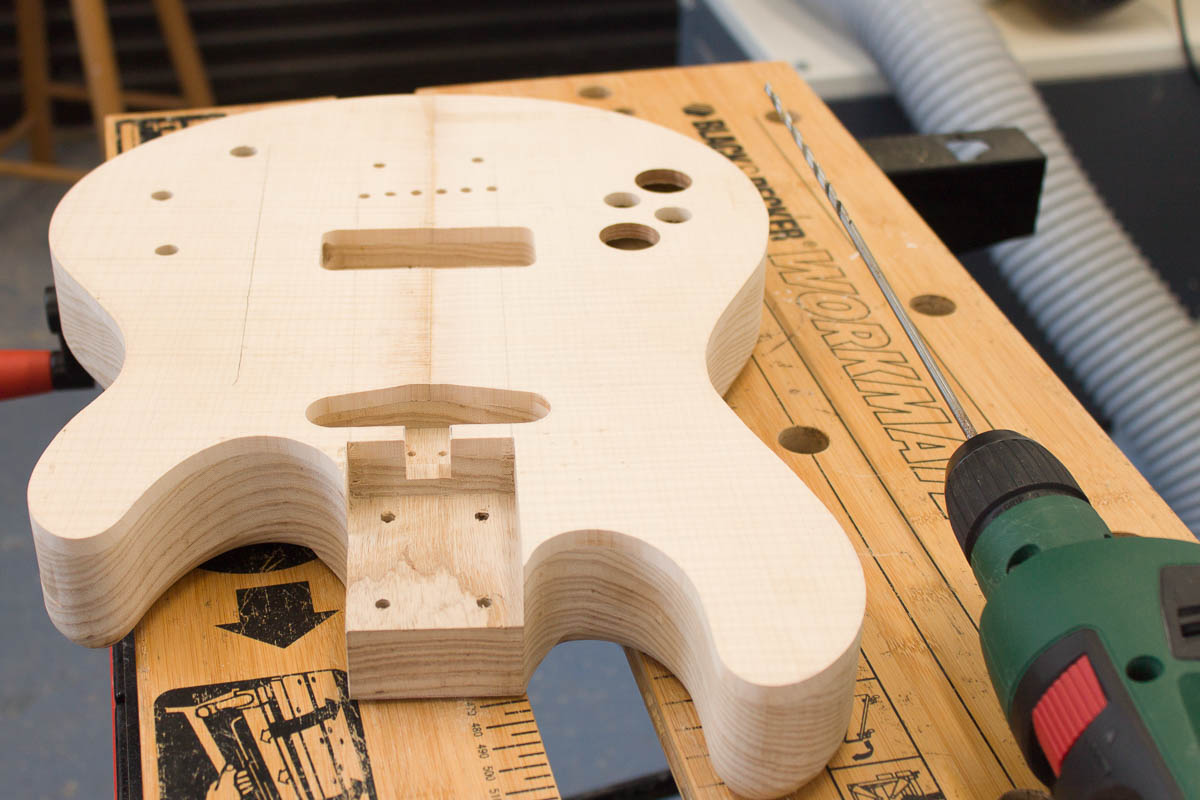
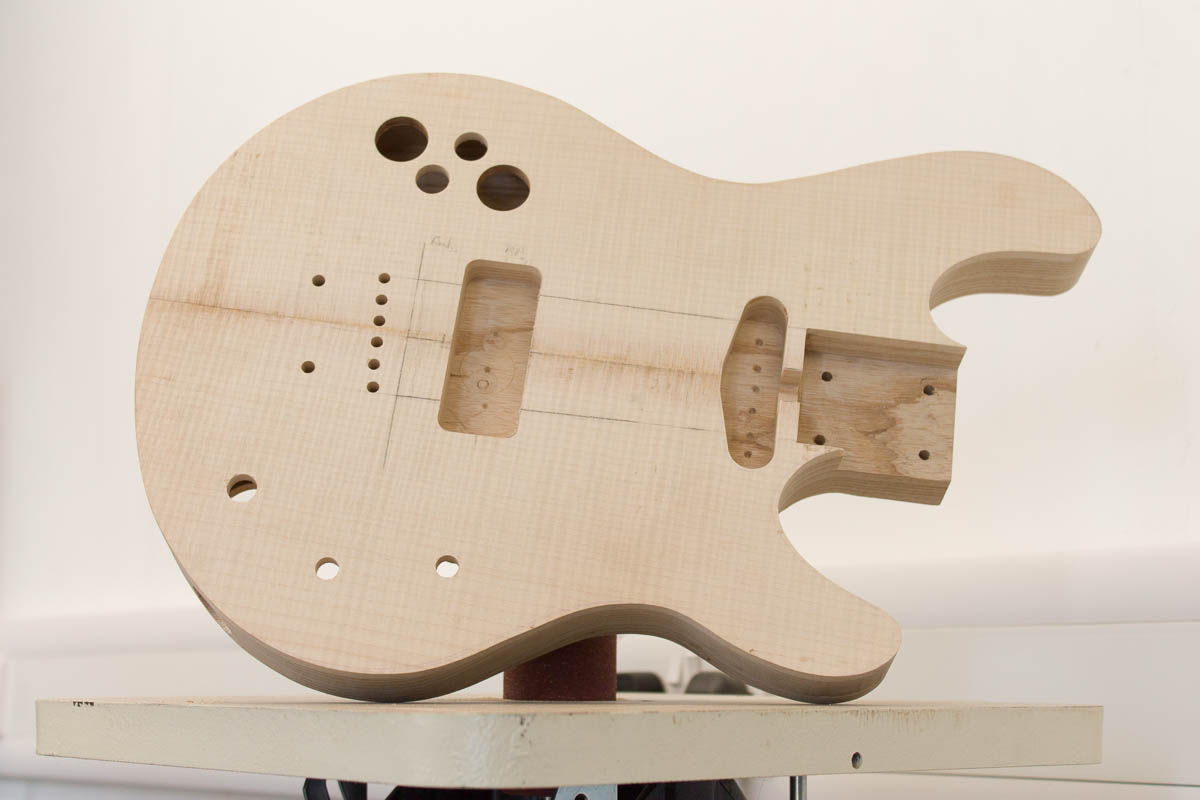
Time to route the body for the pickups. The neck pickup template is for a tiny 1/4″ bit and a 3/8″ collar, which makes it a fairly easy route to do. Above is the end result, really starting to get a feel for how it’ll look!

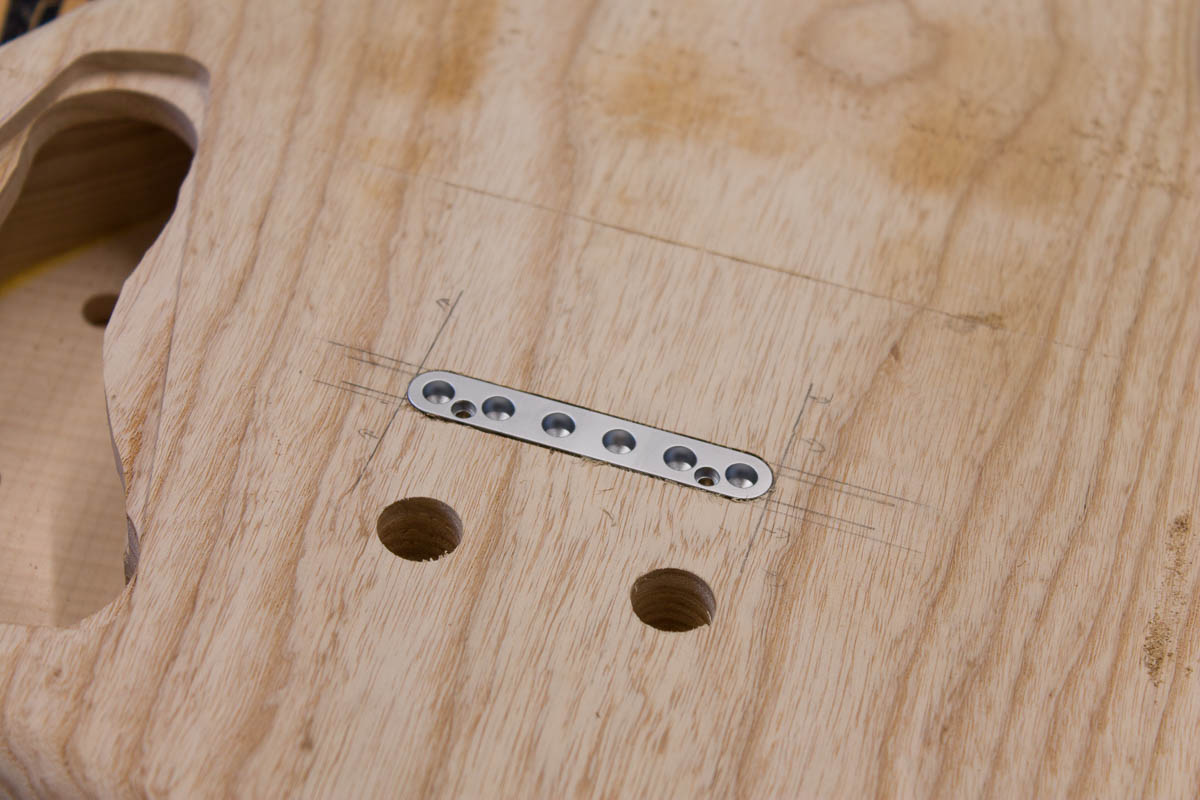
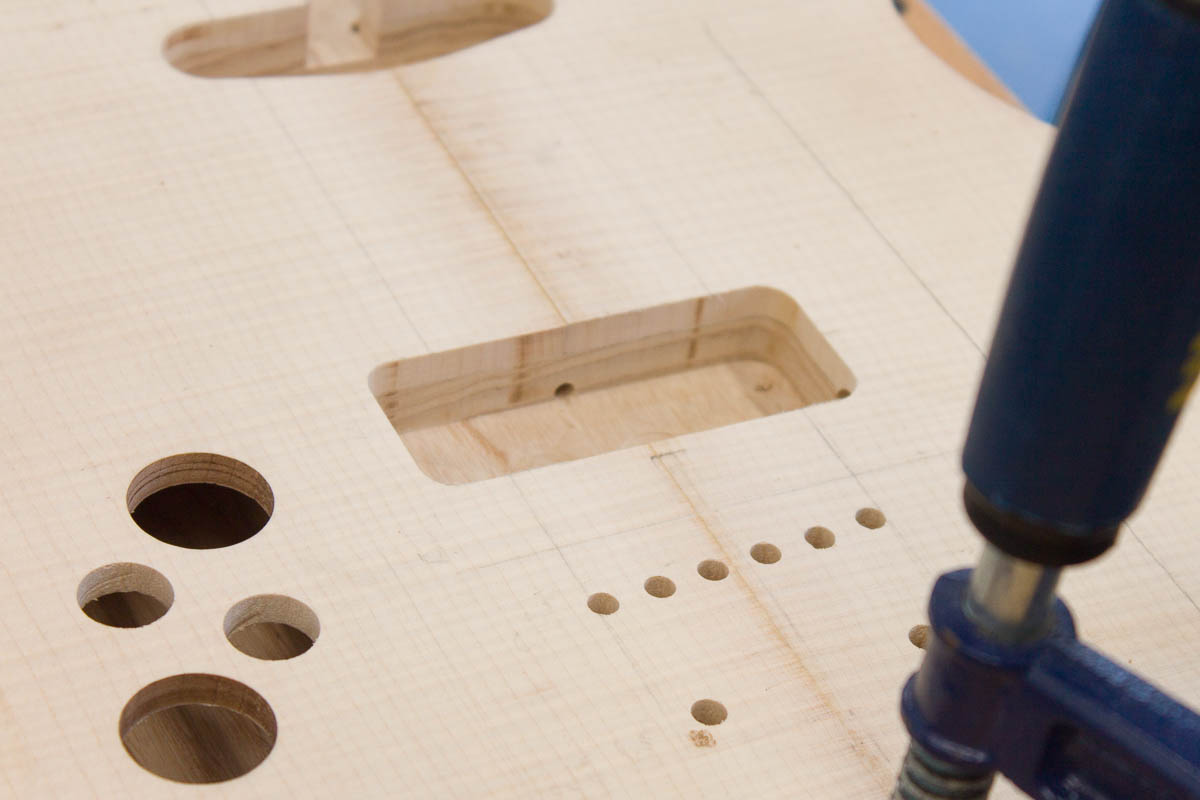
I used a 12mm drill bit to get rid of some of the wood (and the router bit doesn’t have any centre plunge, so it was needed). The route is cut to a depth of 16mm, so that with spacers, the pickup should sit 6mm above the surface. As the bottom of the pickup routes won’t be seen, I didn’t worry about the drill bit leaving centering marks.


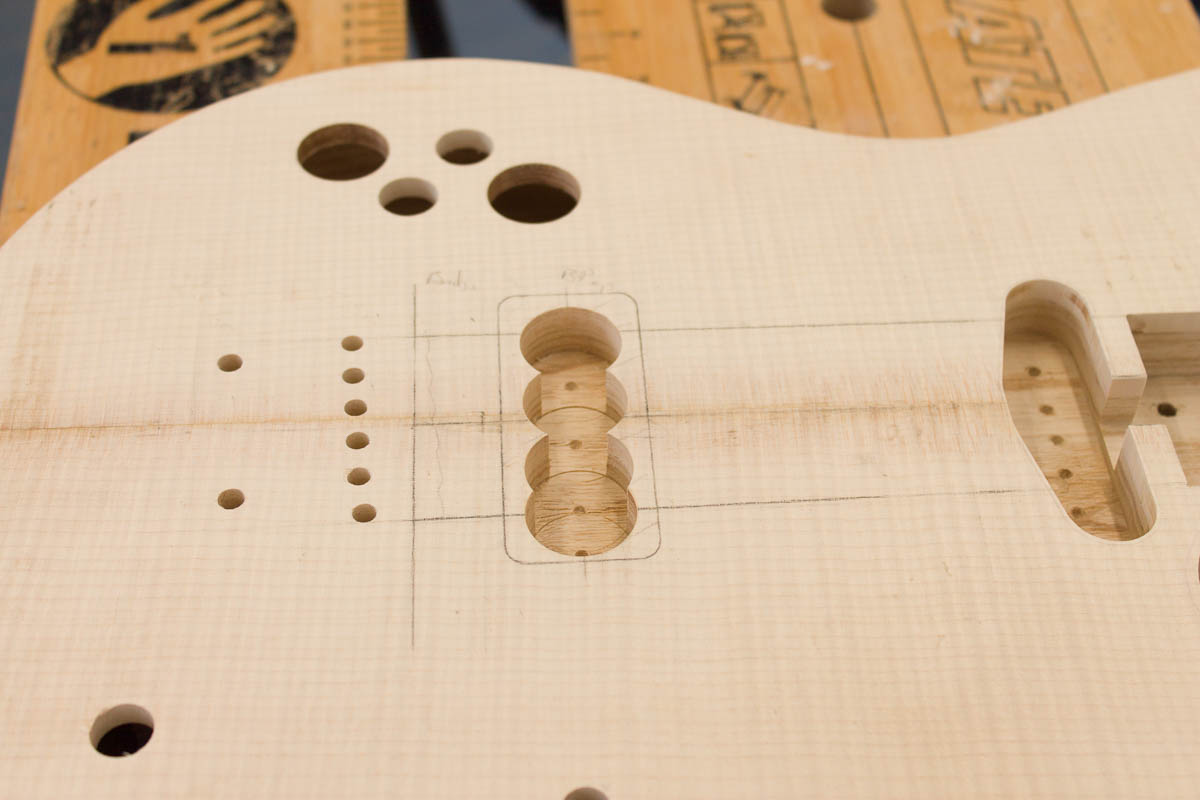
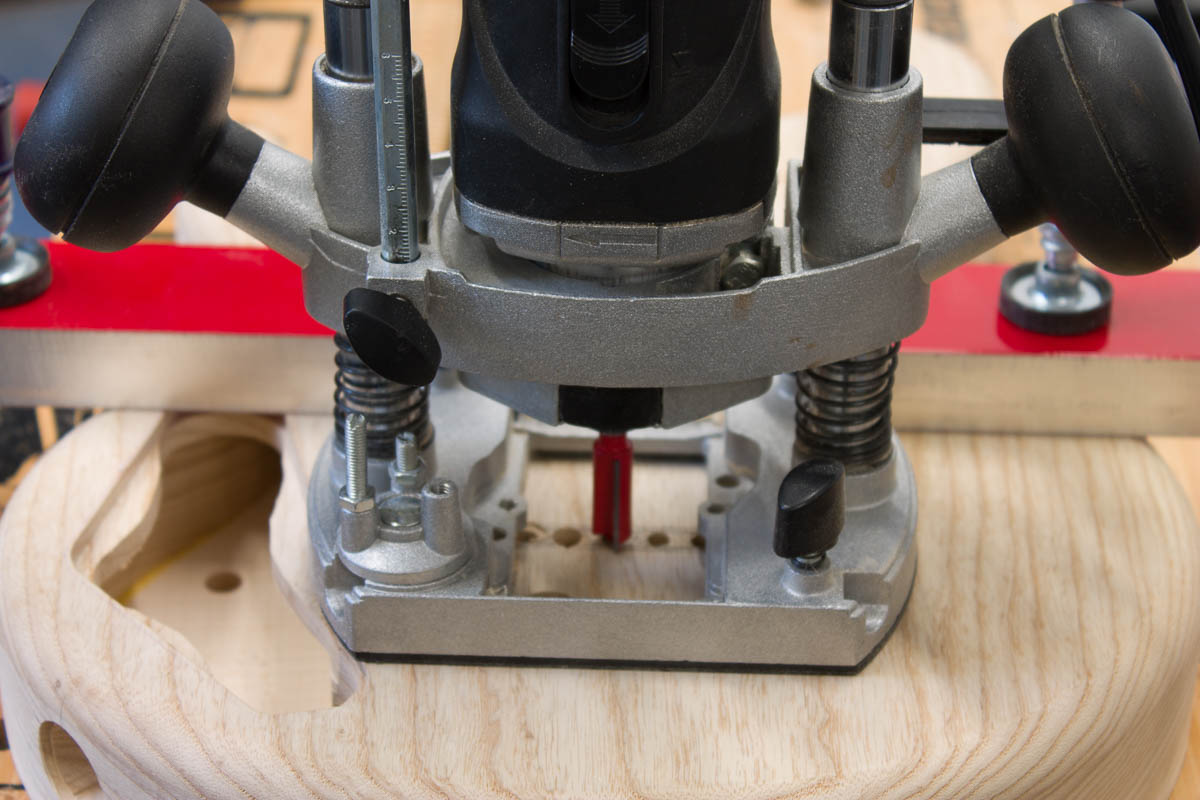
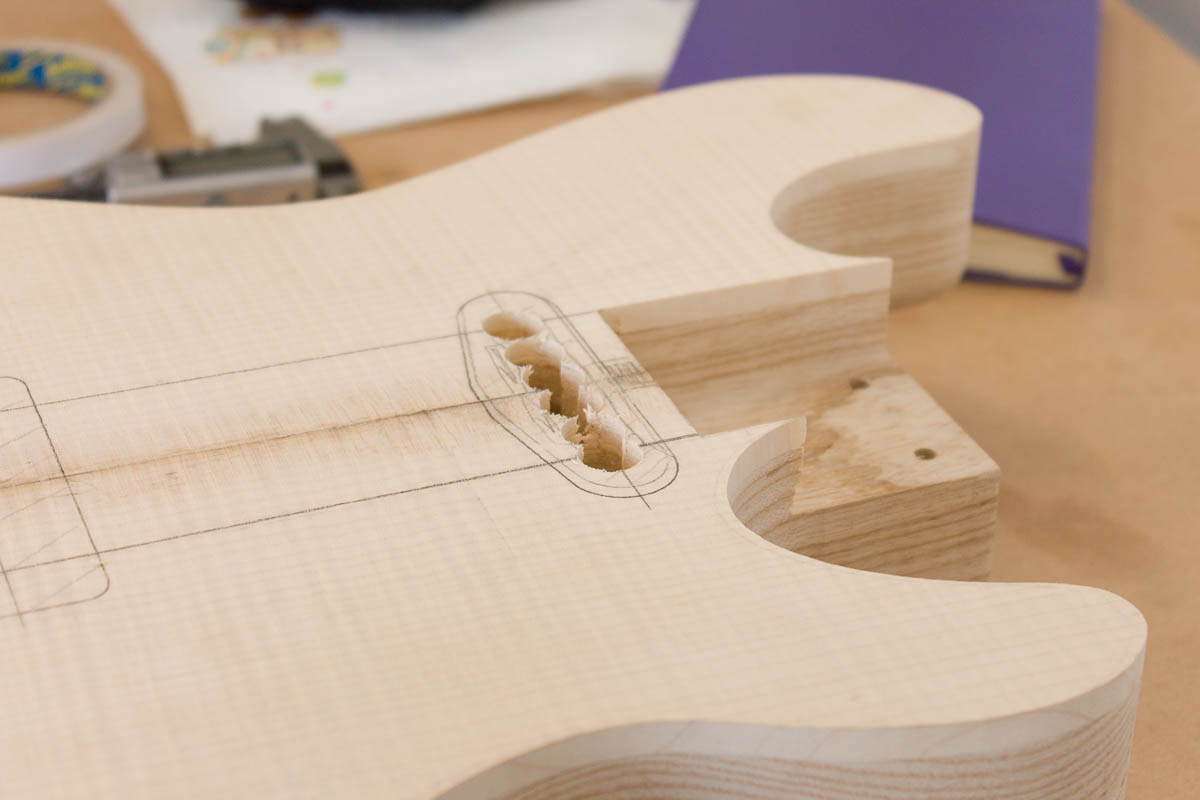
The bridge pickup route is more trouble. My template router bit is too long to cut the route, so I had to cut it 2mm deeper than I needed (18mm instead of 16mm) and float the template 6mm above the body – which makes precise alignment all the harder.

My cheap P-90 has a lot tighter corners and won’t fit this route, however I know Lindy Fralins have a wider radius edge that should fit (well the last one did!).

Pickups have been ordered, Blues Special in neck with P-90 Soapbar in the bridge, but will be 4-8 weeks. I remember being hugely disappointed with my last guitar’s bridge pickup last time, *until* the Lindy Fralin arrived. I was really surprised how much difference it made, as previous pickup changes have been far less noticeable (especially when shifted from stock pickups to Seymour Duncans on my 7-string, the difference was pretty small to almost not gain). I liked them so much, I’ve gone for them again.

Posted in Guitar Three | Comments Off on Pickup Routes – August 2016

Control Holes – August 2016

I’ve drilled the control post holes (10mm), each 4cm from the edge. The volume is directly below the bridge pickup, with the switch 10cm back and the tone control at the mid point. This is the same setup as the last guitar and it just works for me.

The jack socket was drilled using two spade bits, first the larger outer (25mm) and then a smaller inner (22mm). The cut wasn’t clean as I had to do it with a hand drill. I need to see if I can find a way of clamping the guitar in future to use the drill press for these (for safety as much as anything). The end result is pretty reasonable.

I mistakenly drilled the switch socket to 10mm, but I believe Switchcraft shafts need a 13mm hole – so that will need adjusting. The top is too thick for the pots, even though they say they have 9mm threaded sections. Once the switch arrives I’ll have a look at doing a test fit and working out how much I need to thin the top around the control holes. After that, I’ll do all the wiring onto a piece of MDF drilled to the same places, so the whole wiring harness can be dropped in with minimal work inside the guitar.

Oddly the neck screw ferrules are 14mm this time (last ones were 16mm), so I’m waiting on a new forstner bit to be able to fit those. Decided to swap to black pickups and hardware mid way through (mainly as I think it’ll work better with the darker purple top colour).

Posted in Guitar Three | Comments Off on Control Holes – August 2016