Finishing body template outline – July 2016

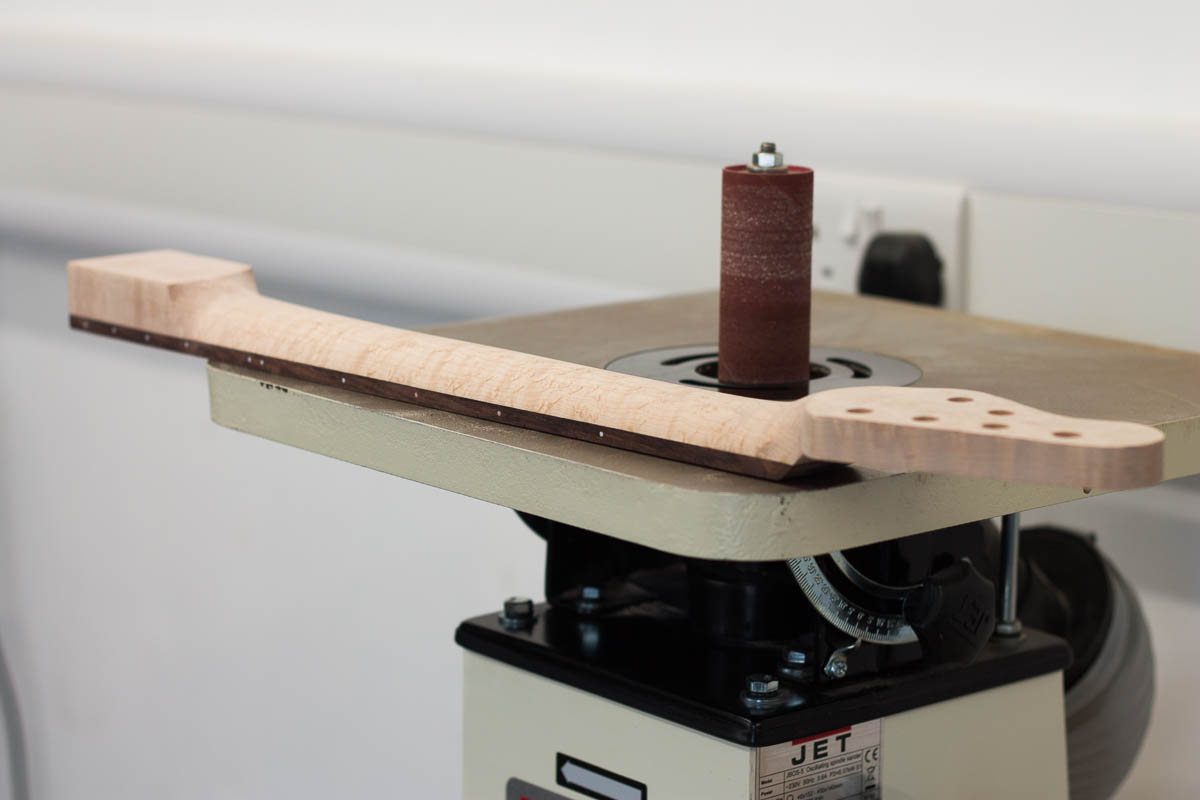
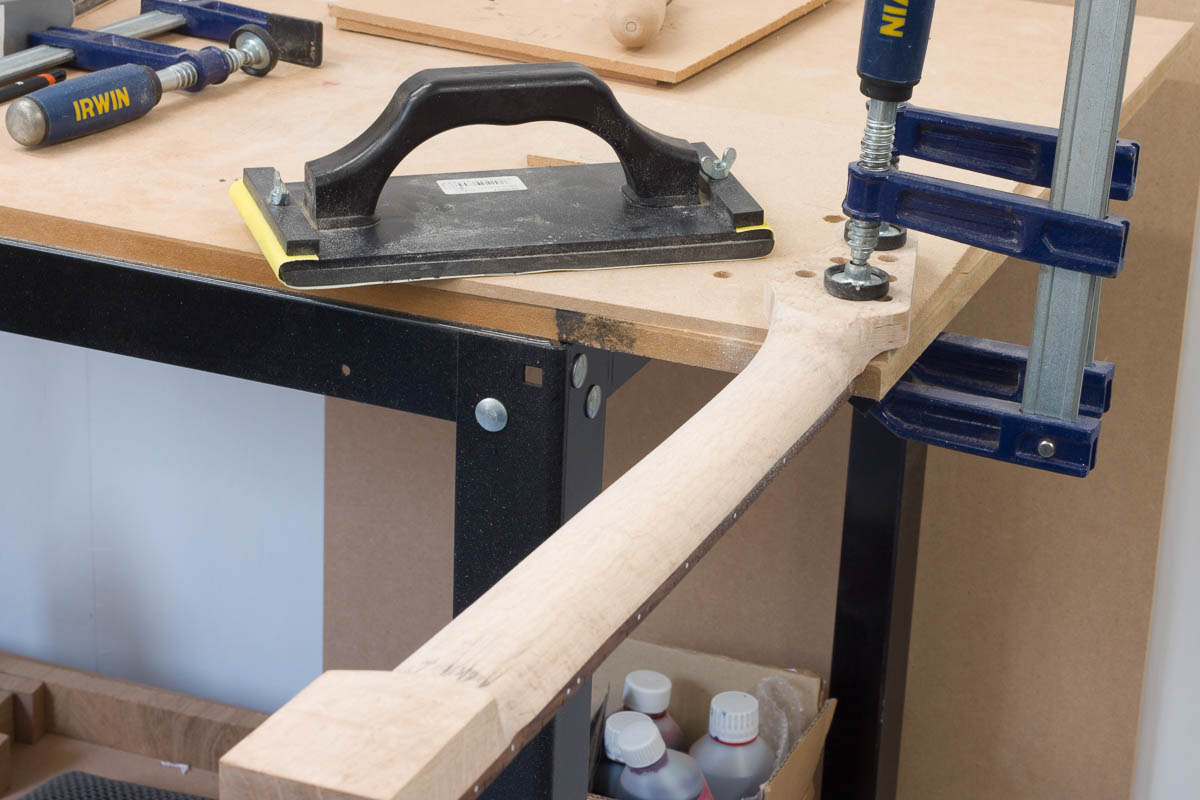
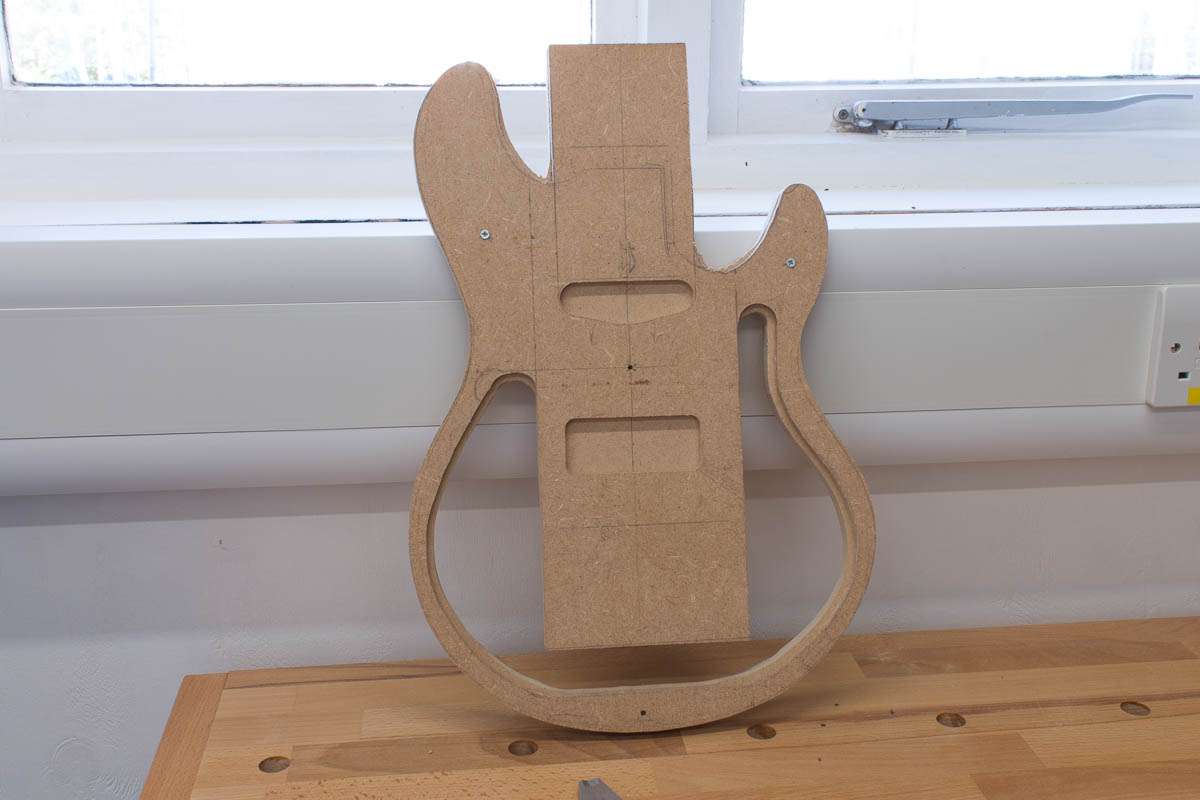
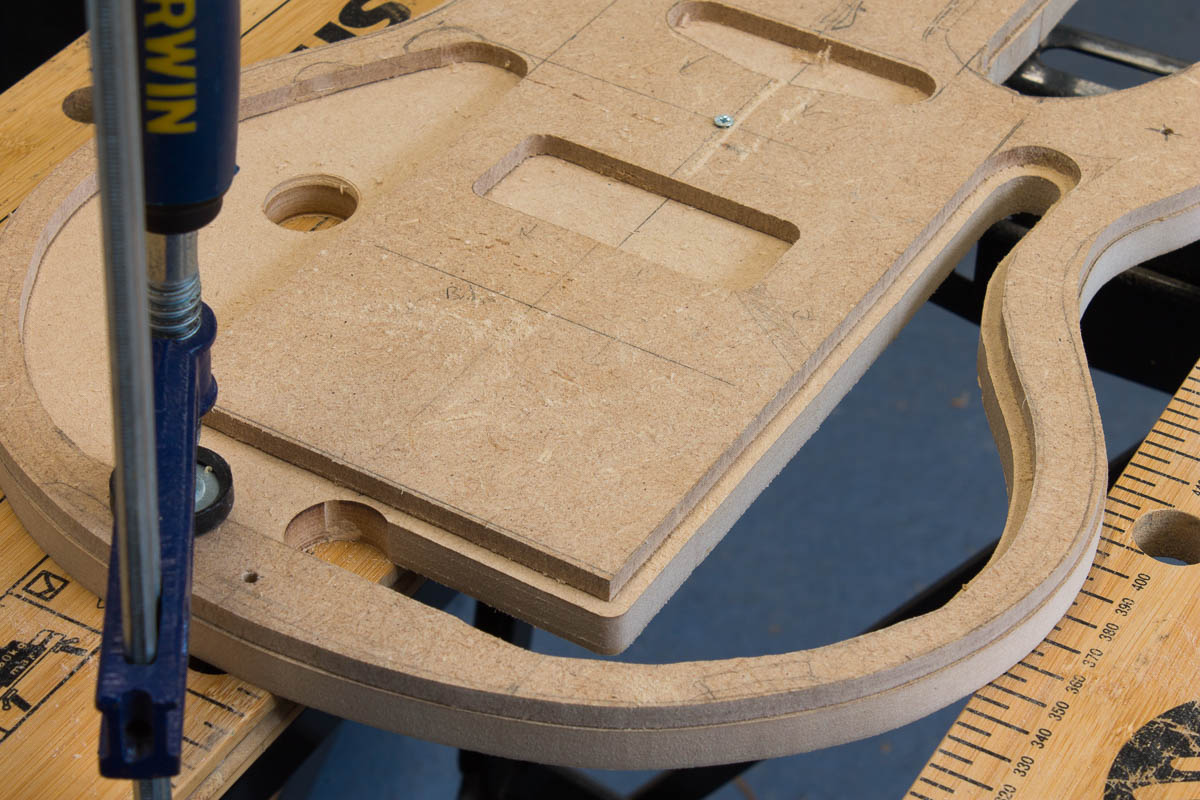
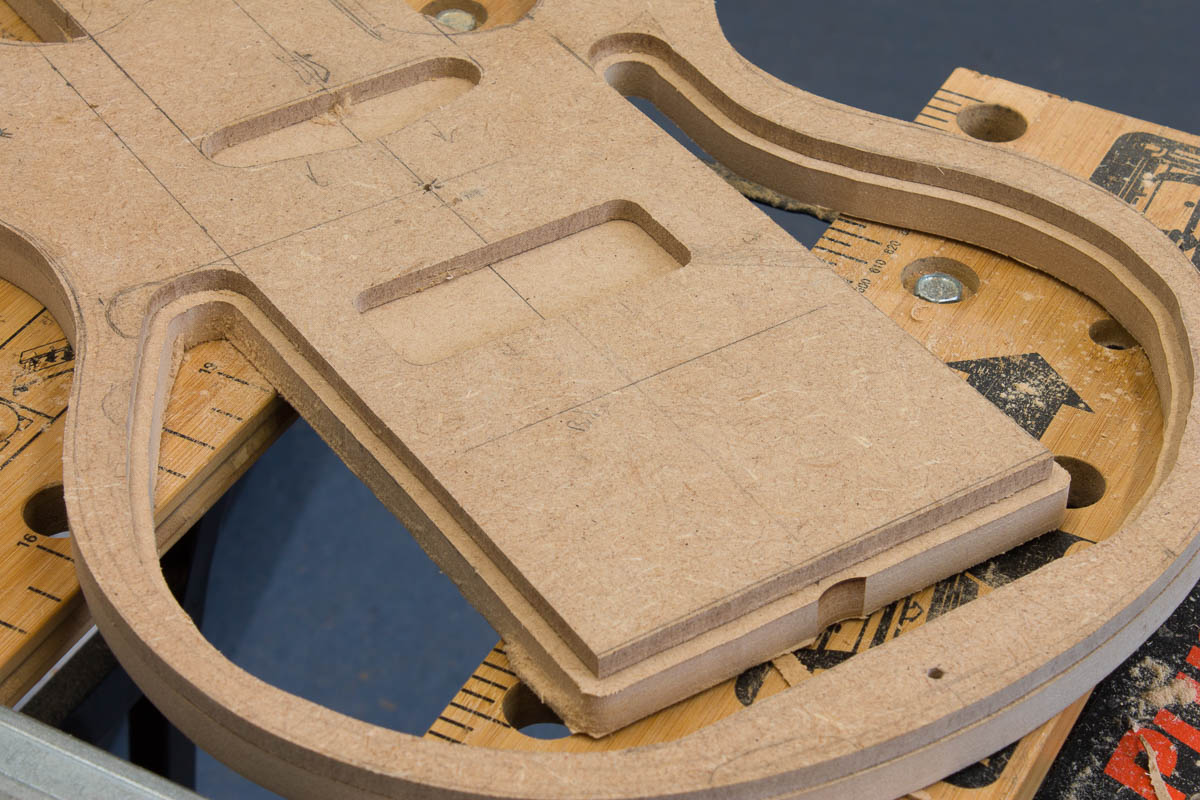
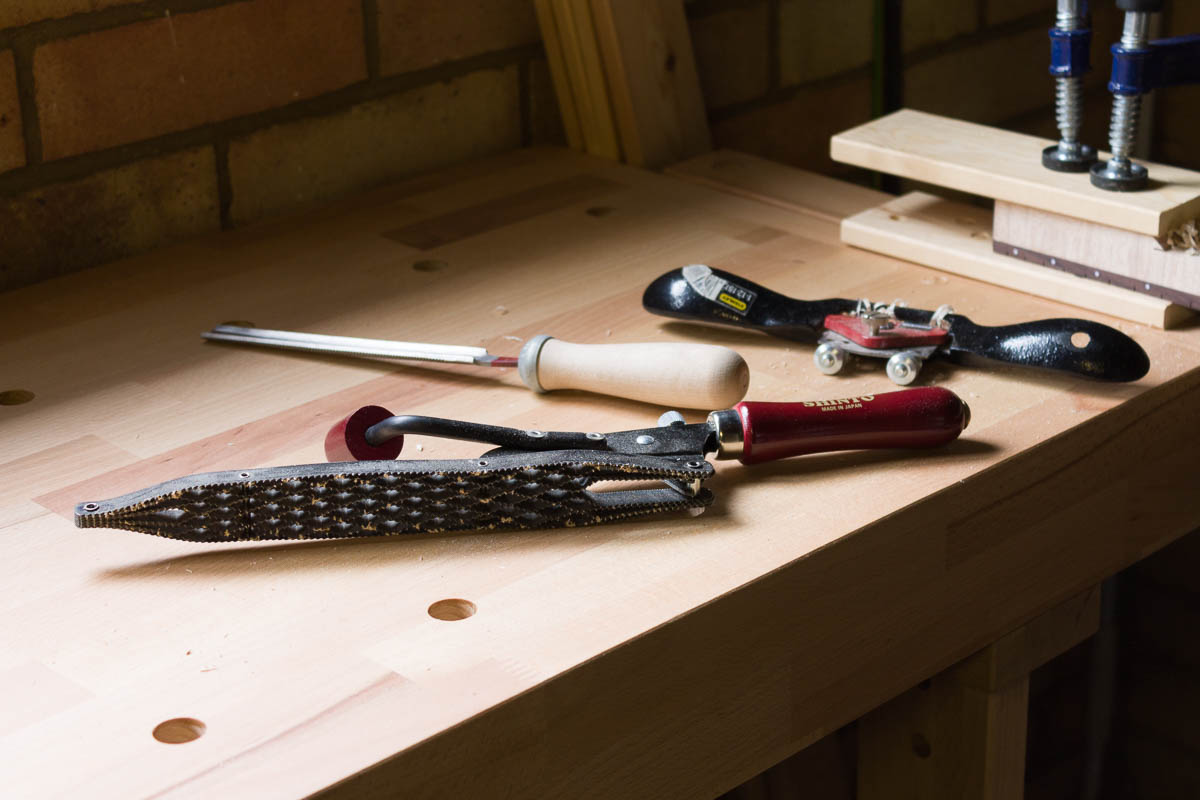
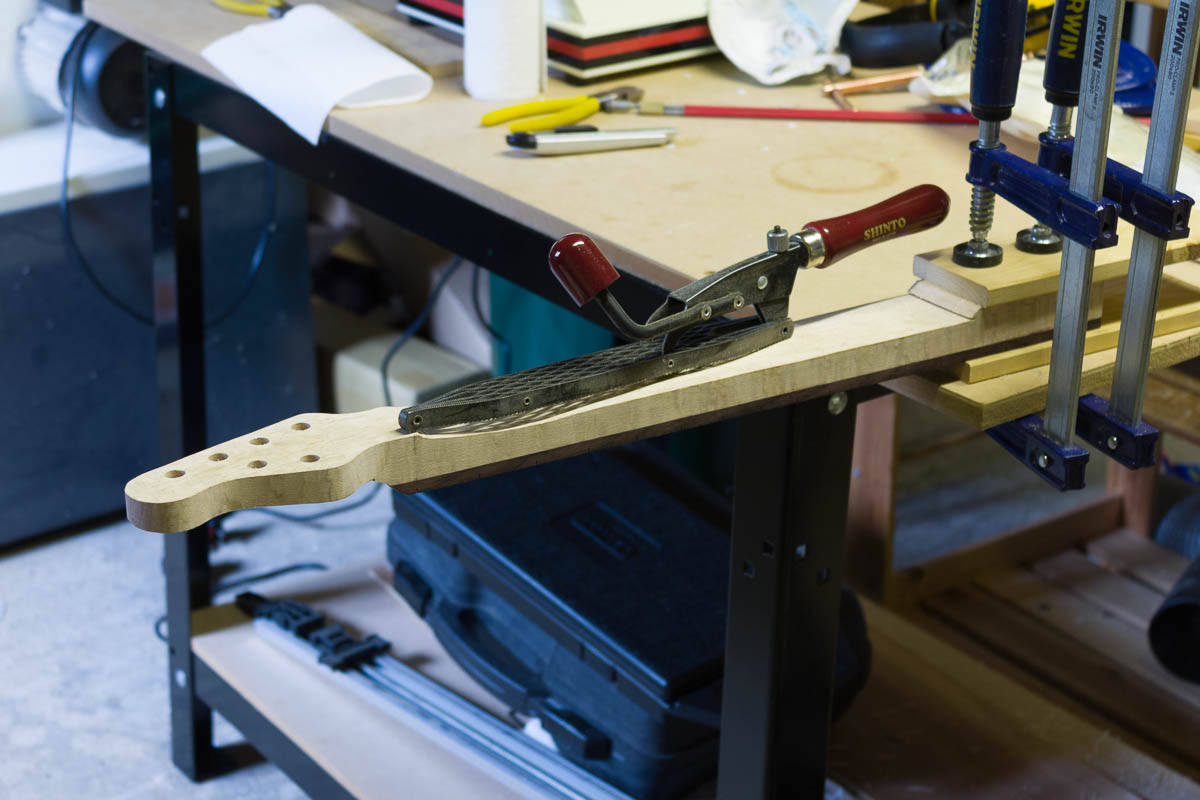
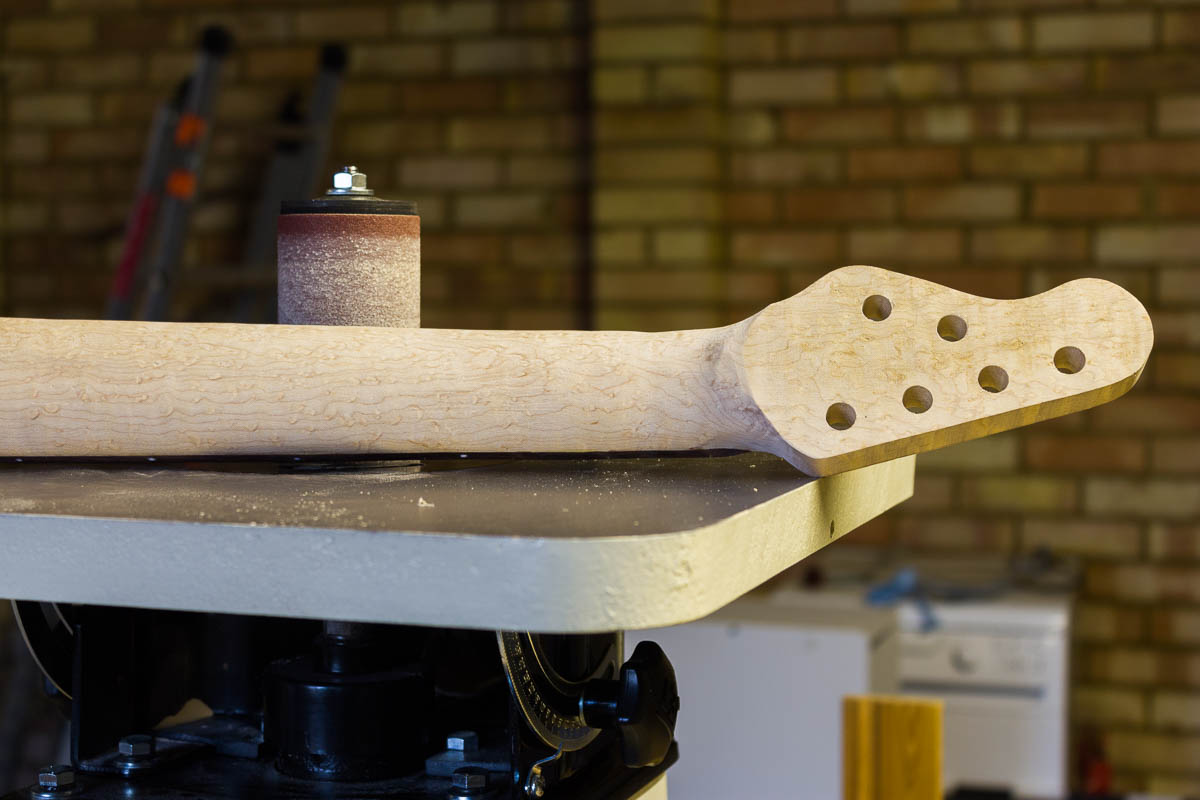
Up until now I played super safe with the neck area of the template. Now the neck shaping is finished, it’s time to tidy up the neck area of the template. Using a spare piece of wood as a straight edge and a template bit, I set the end and bottom side of the neck. This has been left ~1mm wider than the neck, which will be tidied up once the neck is fitted.


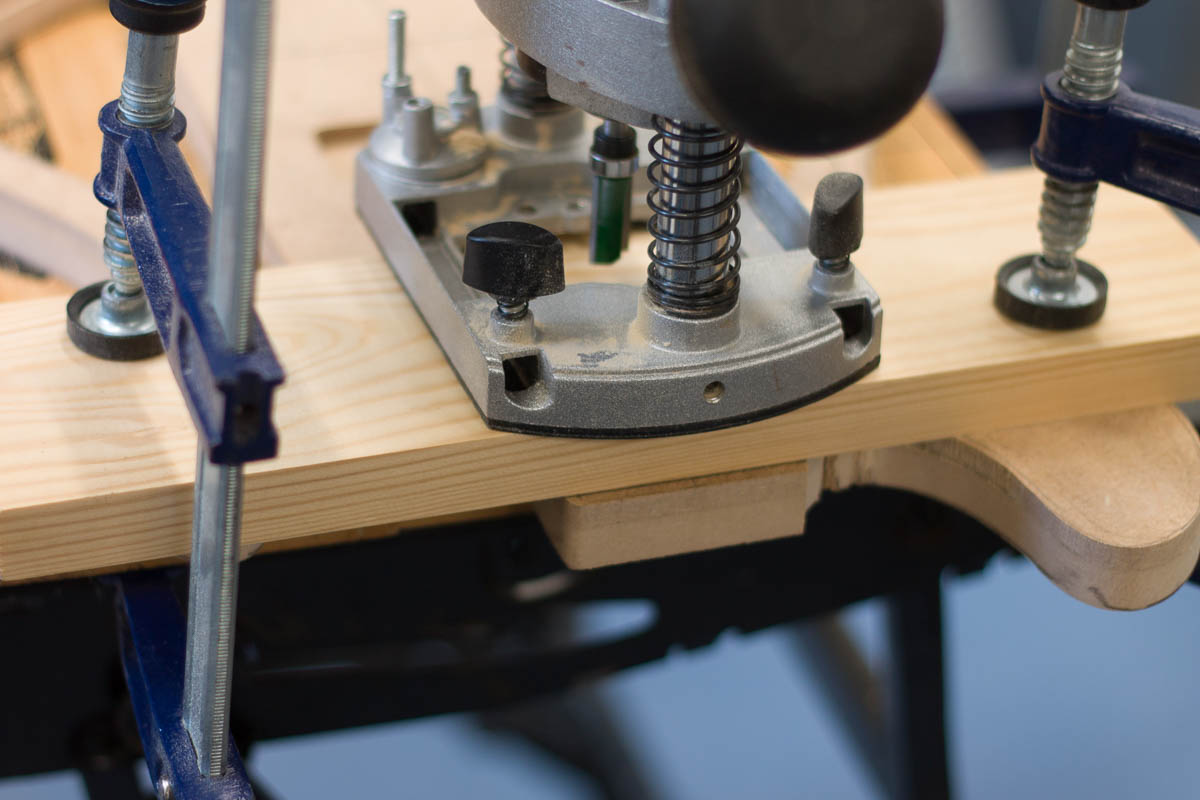
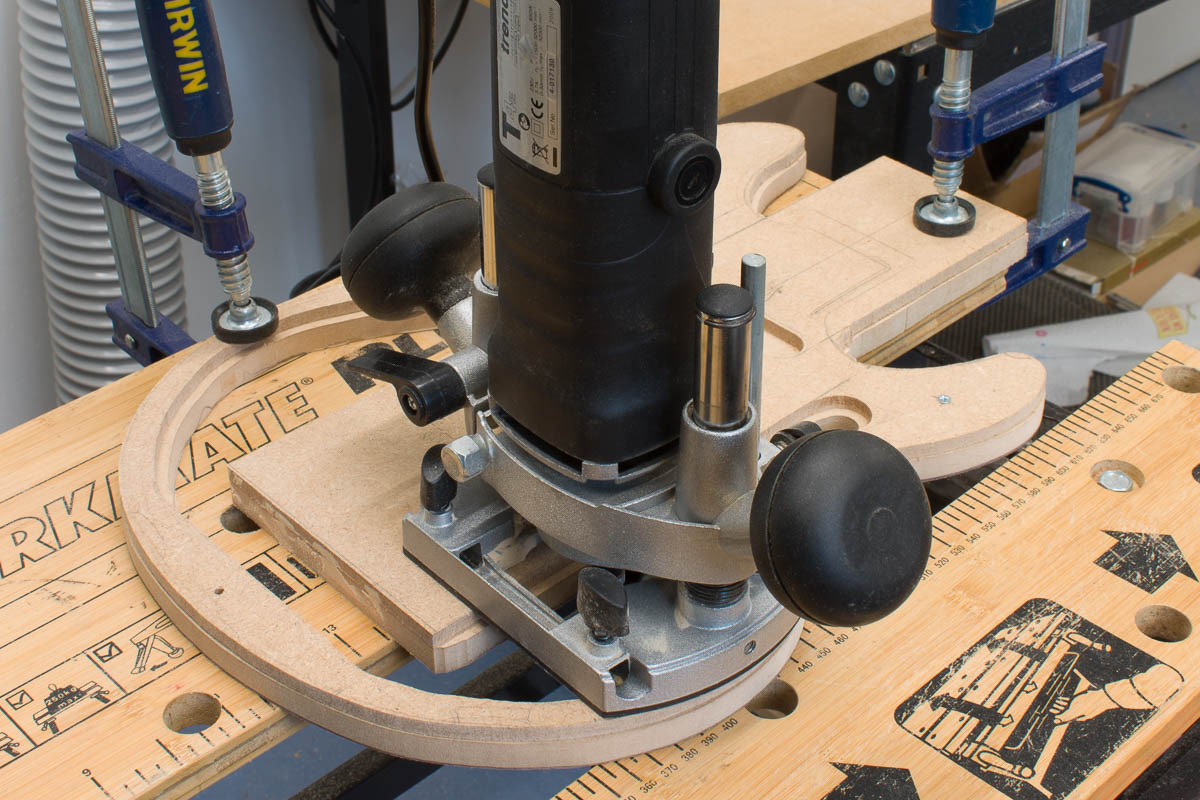
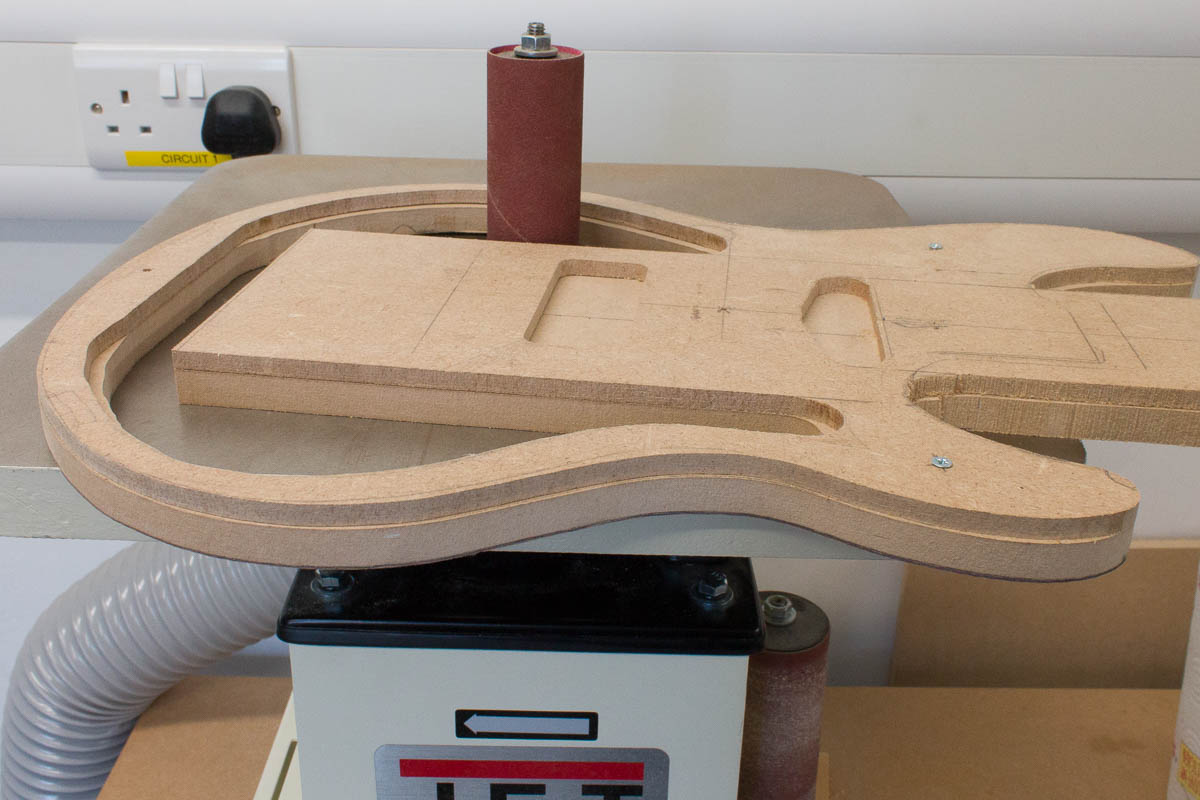
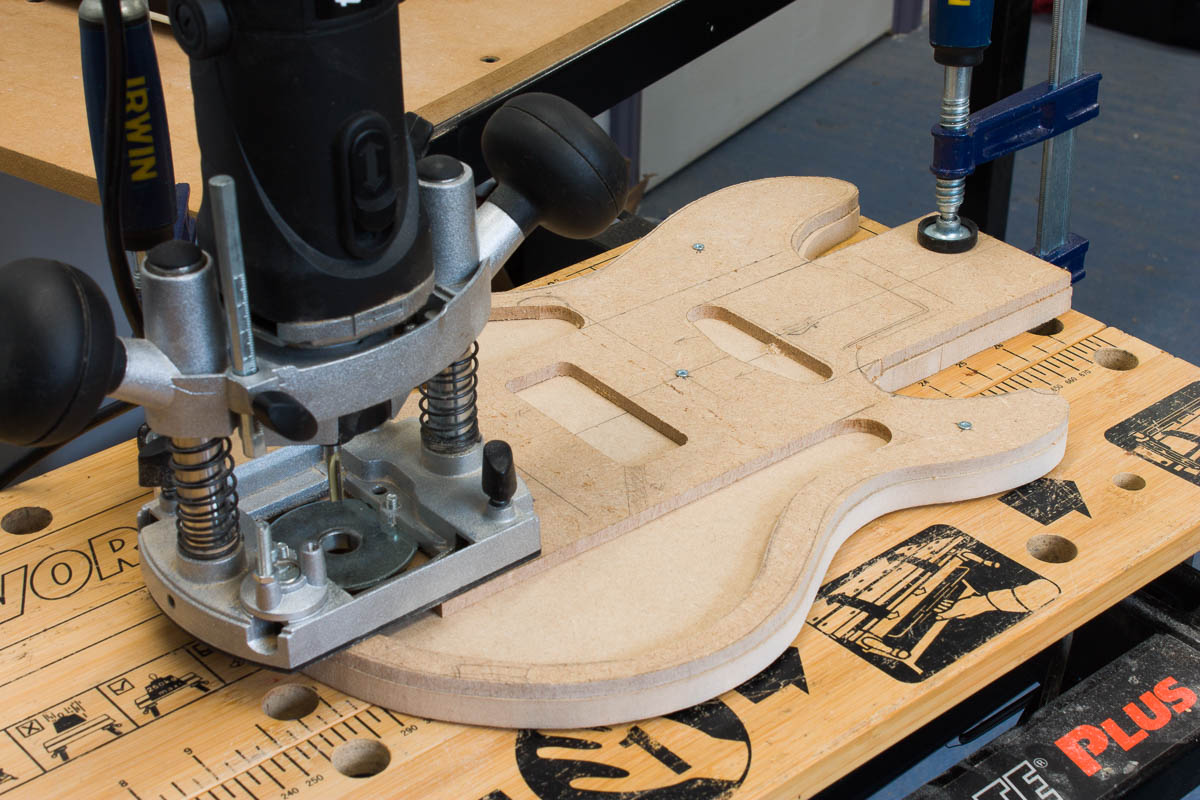
My Trend router has done me well for it’s cost and it’s low power suits my careful style. The main issue I hit is it’s shallow plunge travel. Here I’ve cut as deep as it will go, then the guide is removed and the template itself used to guide the bit.

One a side note, while routing, this is my current personal protection setup.

Posted in Guitar Three | Comments Off on Finishing body template outline – July 2016

Neck shaping finished – July 2016

I had the wrong lens on my camera for today’s photos (my 50mm prime), hence the super strong DOF. I’m calling the neck shaping “done”, there is still a whole lot of sanding before a finish could be applied, but it’s good enough to switch focus to the body.

After getting burned before on neck dimensions, I decided now was a good time to check that the bridge string spacing and neck work together. It’s a really rough layout check, however it’s a good point to find any issues before the neck pocket is cut.

Posted in Guitar Three | Comments Off on Neck shaping finished – July 2016

Neck shaping – July 2016

Moving my focus back to the neck, as I want the neck size sorted before finalizing the body template around the neck areas. To tidy up the neck after rough shaping (and get a feel for how it is before adjusting it), I go through the following process:

  • Shading whole neck with pencil (see picture above)
  • Start standing back the neck, the high parts will loose the pencil marks first
  • Keep going until all areas are clear of pencil marks
  • Repeat

The birds-eye maple seems to suffer from tear out a lot more than normal maple, so I’m having to sand more than I normally would. Maybe if you kept the spoke shave razor sharp it would reduce this.

The theory is the high spots will be touched first and you sand until all pencil is gone. Each time you repeat the process, there should be less high spots, until it all comes off evenly.

I use a large sanding pad with 80 grit on it. I’m still frustrated by my neck shaping process for being too adaptive and not feeling like I can guarantee the end result. I remember feeling this with the past two necks and have yet to find a good solution.

To blending in the headstock, I tapped a spirit level onto the neck to provide a rough angle at which I need to present the neck to the sanding bobbin to get an even result.

Posted in Guitar Three | Comments Off on Neck shaping – July 2016

The Bridge – June 2016

The new bridge has arrived, which is a Schaller Hannes in satin chrome. It’s probably the most complex bridge I’ve seen to install in terms of required precision (and odd sized router bits). They provide a detailed PDF on the steps, along with a template on where to drill etc. It bolts through the guitar to a base plate, so at some point I’ll need to build the template to cut the back recess. From initial inspection, there doesn’t look to be a huge amount of string height adjustment range, so I’ll have to get the right depth on the neck pocket.

The bridge is actually going to be further back than is shown and the pickups moved as well. The neck pickup will be at 0.75 x scale length and the bridge at 0.94 x scale length. The neck pickup is only moving a few millimeters, the bridge pickup is moving a lot closer to the bridge.


Posted in Guitar Three | Comments Off on The Bridge – June 2016

Back to the neck – June 2016

For this build I’m using Schaller Mini Top Locking tuners in satin chrome. I’ve never tried them on a guitar before, so we’ll see how I like them! I wasn’t a fan of the nylon M6 non-locking on my previous build after years of using locking tuners. The reason for the mini version of the tuners to try and reduce a bit of the weight and Schaller as they are good price for custom 4L/2R sets in the UK versus Sperzel (though I do like the Sperzels on my Parker). Maybe next build I’ll order a custom colour set of Spezels from the US….

The head stock is too thick as I cut it (and it isn’t a consistent depth, it gets fatter towards the nut). Bird’s eye maple has turned out to be a real pain to cut so far, as you can see the band saw blade wandered at the very beginning. I tried clamping the belt sander to the desk and starting to true it up using that. I originally aimed for a 16mm thick headstock, now the plan is to get the headstock to 15mm thickness, then sand it with an orbital sander to remove all the marks (as you can see, the belt sander has left the harsh grit lines you would expect). This should be the minimum I need to loose to get rid of the mark at the top of the headstock.

Posted in Guitar Three | Comments Off on Back to the neck – June 2016

Body Template Continued – June 2016

Using a template bit, I’ve taken the 12mm template to the same internal lines as the 6mm. I’ve left the curved edges offset, to allow for sanding (and to fatten the side walls a bit).

Swapping to a smaller bobbin on the sander, I’ve tidied up the internal curves.

As far as I can take the template at the moment. Now the bridge has arrived, I can properly mark out the locations of the bridge and pickups. I think I might need to shift the pickup positions – hence not cutting them into the 12mm template. Once that is done, that’s about as far as I can go with the template before the neck is further along.

Posted in Guitar Three | Comments Off on Body Template Continued – June 2016

Change of Direction – June 2016

Another guitar, another change of direction. The planing and thicknessing of the maple top just didn’t work with a router and the piece supplied had a significant bow to it that was more extreme than I realized (tbh I’m a bit annoyed at the supplier, I doubt I’ll use them again). Instead I’m going to use a pre-planned bit of maple (sadly not birds-eye) and do a flat top. As the carving is part of the process I really like, I thought I’d throw in something different to make up for it. This is going to be a semi-hollow build, which I’ve never owned. How much will come through in it’s amplified voice is yet to be seen. My one concern is a neck heavy build result, but sticking with the origianl body doesn’t give me much room for adjustment. I’ve changed tuners for lighter ones (Schaller M6 Mini top locking), which should arrive this week. Once they are here (along with the bridge) I can get back on with the neck.

A year and a bit ago, while drilling out the wood for the sound chamber, I drilled way to far out (which was part of the reason I put the guitar build away). Reverting to what I know, time to put together a MDF template to see if I can get a shape that will work. I tried free hand routing the internal curve, which as you can see if a bit of a mess (the top 6mm MDF template). Instead I’ve copied it to a 12mm MDF template without an offet, I’ll use the spindle sander to sand a more natural flow. The flat edges are fine, so I’ll take them to the same line as the 6mm one. None of this would be visible, but I would know……


Posted in Guitar Three | Comments Off on Change of Direction – June 2016

(Towards) Colour Correctness – June 2016

I really struggled with the second build to track the progress of the finishing of the body in photographs. The colour wandered all over the place depending on time of day / lighting. In an attempted to get a more realistic representation of the colours in my photos I’ve started started using the X-Rite ColorChecker Passport Photo. Hopefully this will get calibrated colours and a good white point. I’ll try and use it for all shots when I’m focusing on the finishing, the rest I’ll continue to free form a bit no doubt.

This is a shot of the same alcohol based aniline dye:

  • (Middle) On ash, looks pretty flat
  • (Bottom) Black premized spirit dye as a first coat, sanded back before the colour coat
  • (Top) On birdseye maple, everything looks better on such a nice piece of wood. This bit hasn’t been sanded before hand, which ends up flattening the gain a lot

A difficult colour to keep consistent in my photos no doubt. I’m liking it on the maple (left), not sure on the more yellow ash (right). Less consistent coverage than the strong purple it feels.

The two dyes on the same bit of maple for comparison. I think I need to prep some of the body off-cuts into some well sanded sections to do some real tests upon in coming weeks.

Posted in Guitar Three | Comments Off on (Towards) Colour Correctness – June 2016

Return from long break – June 2016


So it’s been a very long break (over a year) since I worked on the guitar. A lot has changed in my world, so it kinda got left behind. However, with a newly redone work space I’m picking it back up. Compared to the space that the first two were built in, it’s a massive step up.

I’ve started with some wood dye experiments – back to trying to get a more purple colour that I like.

Aniline dye, however this time alcohol soluble as it’s meant to get into strong grain better (on maple). The theory is water has a higher surface tension and so doesn’t get into the grain. The down side of alcohol dyes if less working time (they dry quicker) and can fade faster under UV light.

Spirit based dye, purple, premixed liquid. Pretty de-saturated, can’t decided if I really like it or not (on maple). Very easy to use, as no prep is needed.

Spirit based dye, blue, premixed liquid (on maple), this is what I used on the previous build (however I did a black undercoat first).

Various test bits (outer two are on ash) – none of the scraps have been sanded really. Once I find a colour I like, then I’ll prep a few bits for testing out the whole process. The black is to see how the bright purple goes over the top (sanding back the black first).

Posted in Guitar Three | Comments Off on Return from long break – June 2016

Day 5 – Neck Shaping (Rough)

Time to start rough shaping the back of the neck. I mainly use (see picture above):

  • Japanese two-handed rasp (left)
  • Japanese half round carving file (mid)
  • Stanley flat bottomed spokeshave (right)


Posted in Guitar Three | Comments Off on Day 5 – Neck Shaping (Rough)