Day 4 – Neck Progress

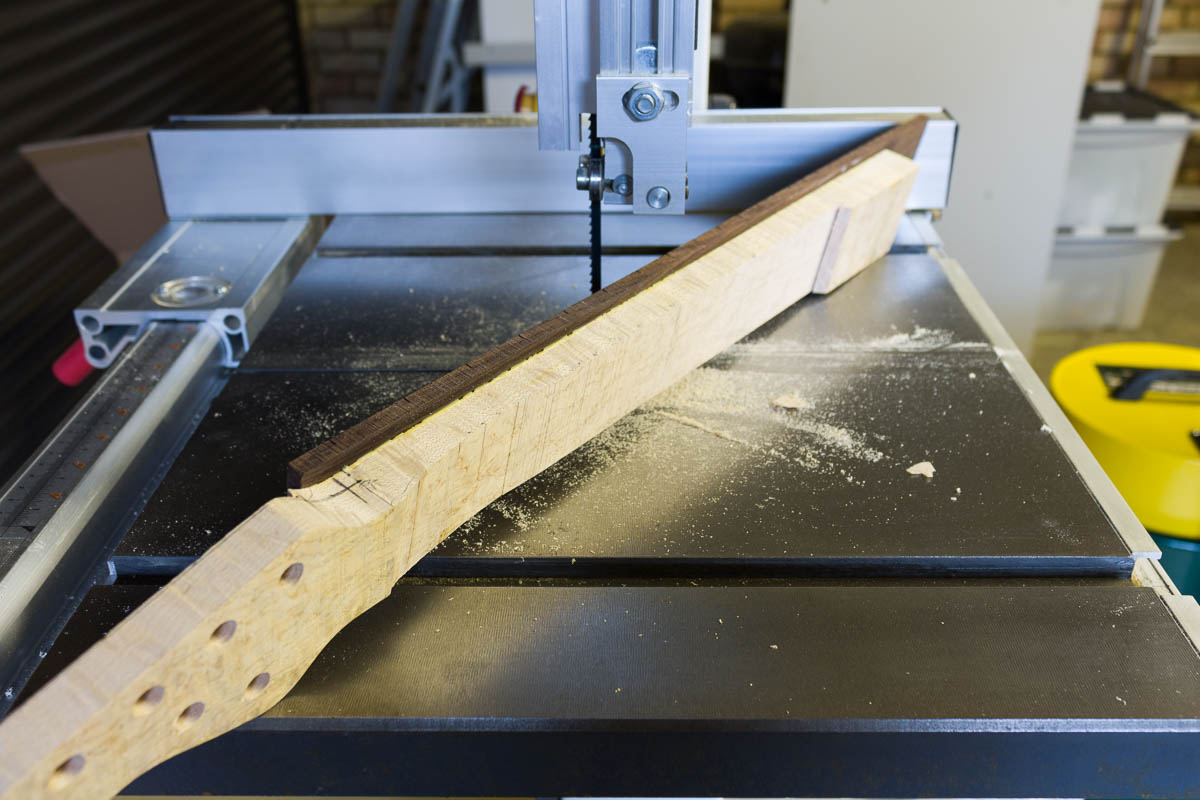
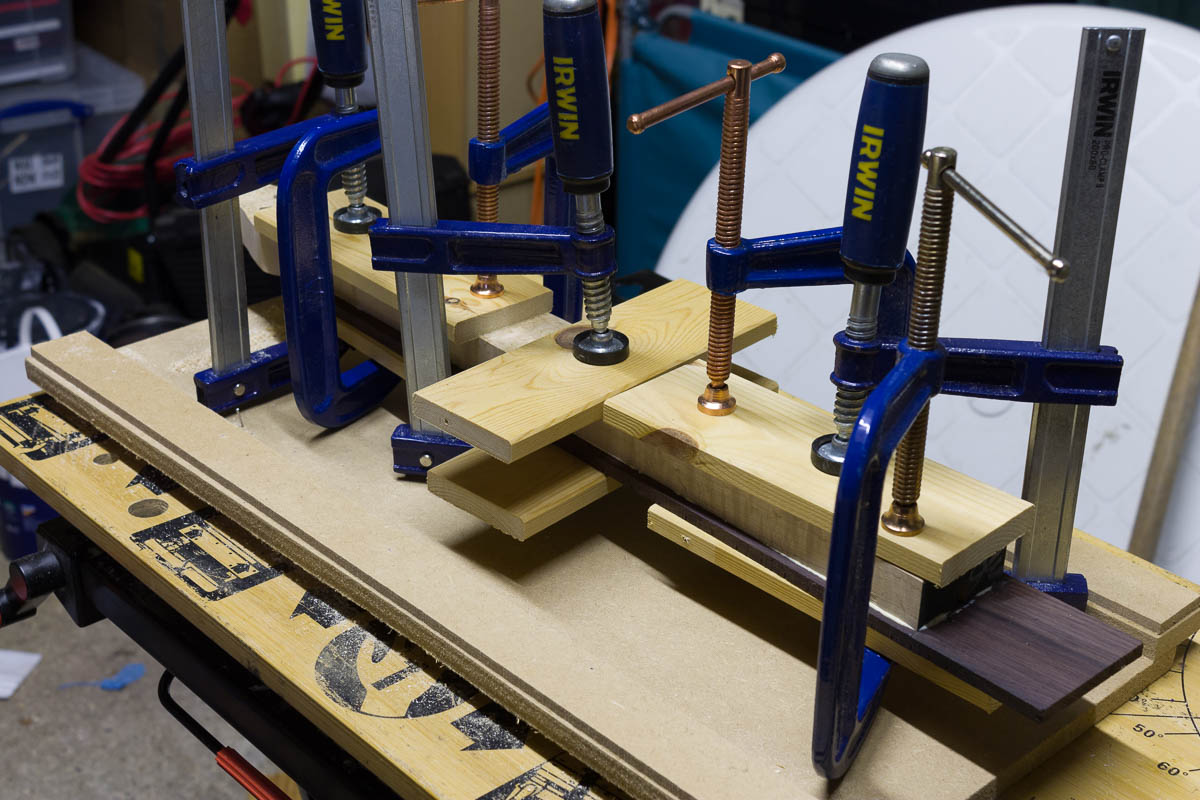
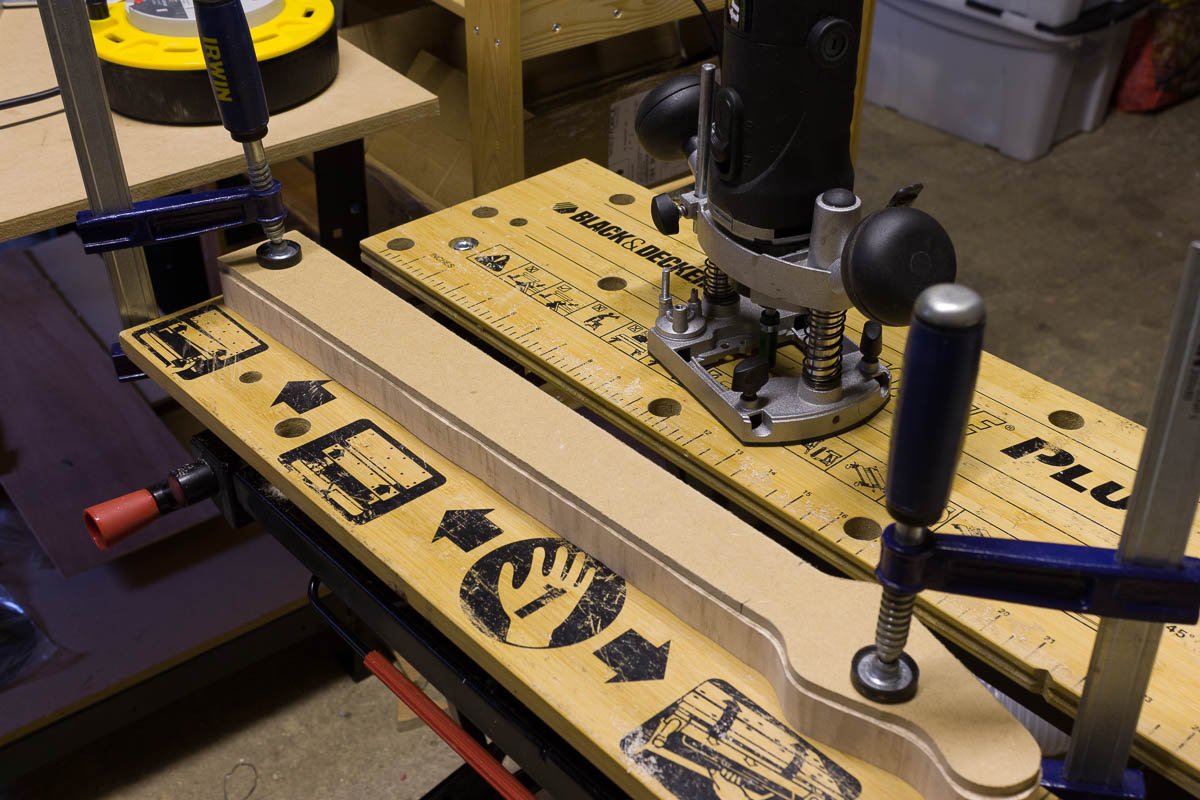
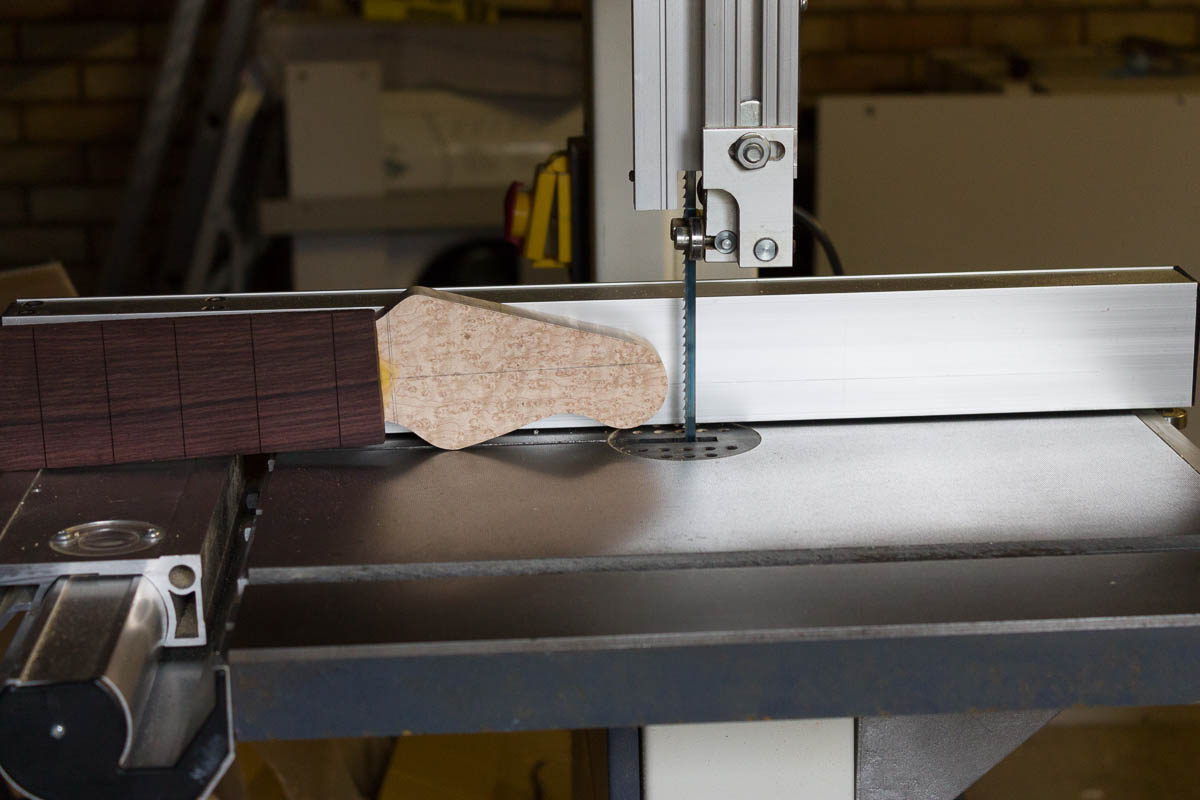
After the clamps came off:

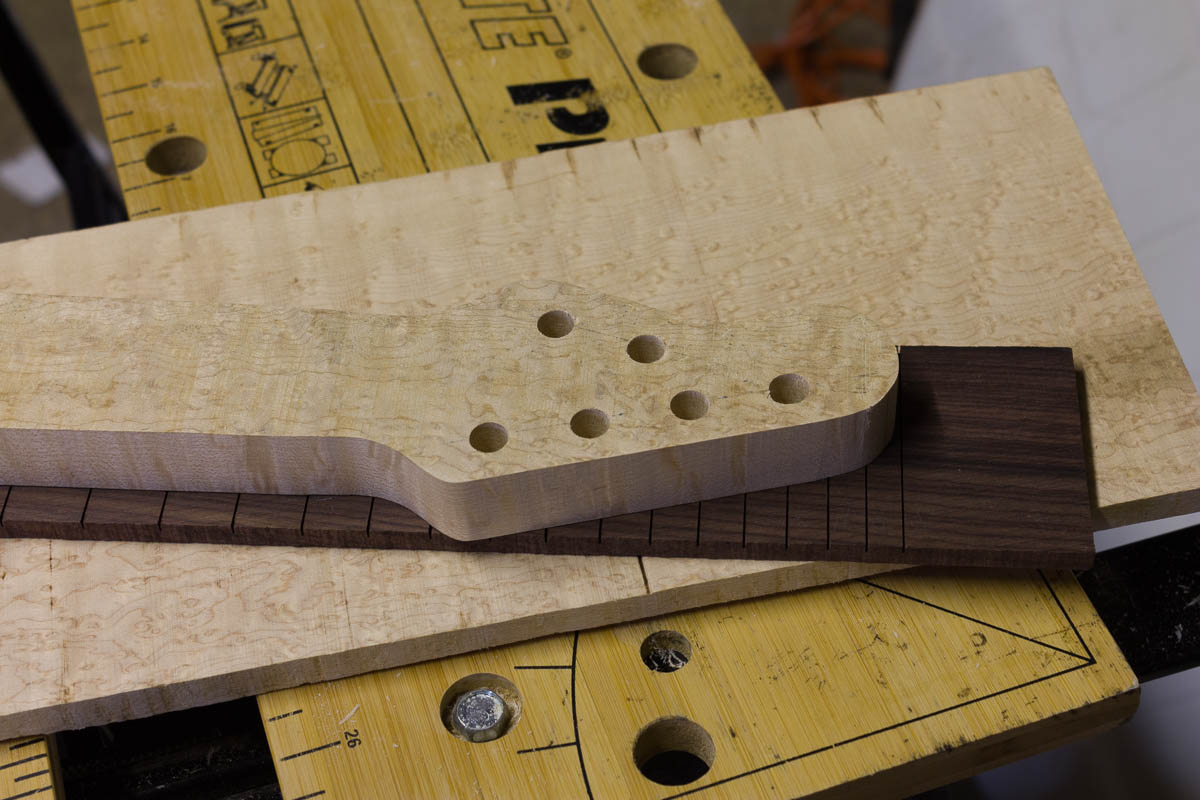
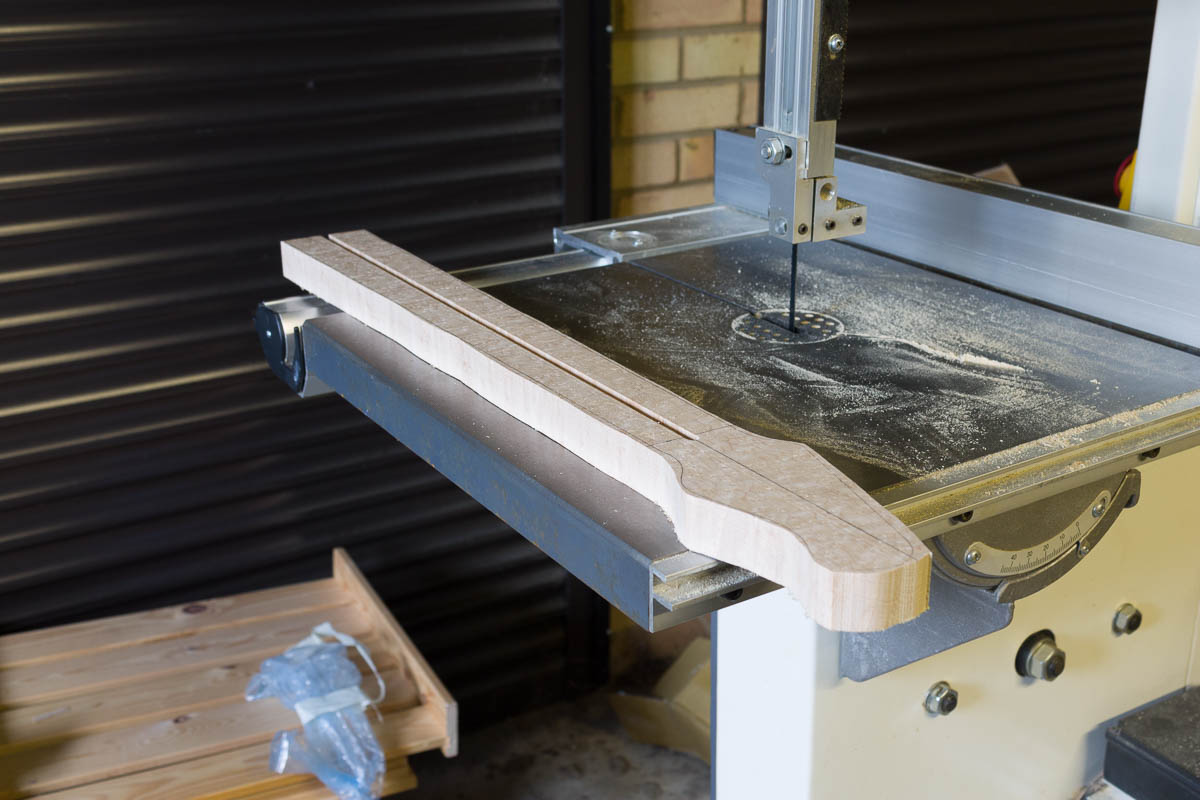
  • Cut headstock to thickness. Aim is 16mm thick, though I suffered a lot of blade wander. After tightening the blade and going very slowly, it’s 17mm at the top and 18.5mm at nut side. Hopefully I can tidy up with sanding
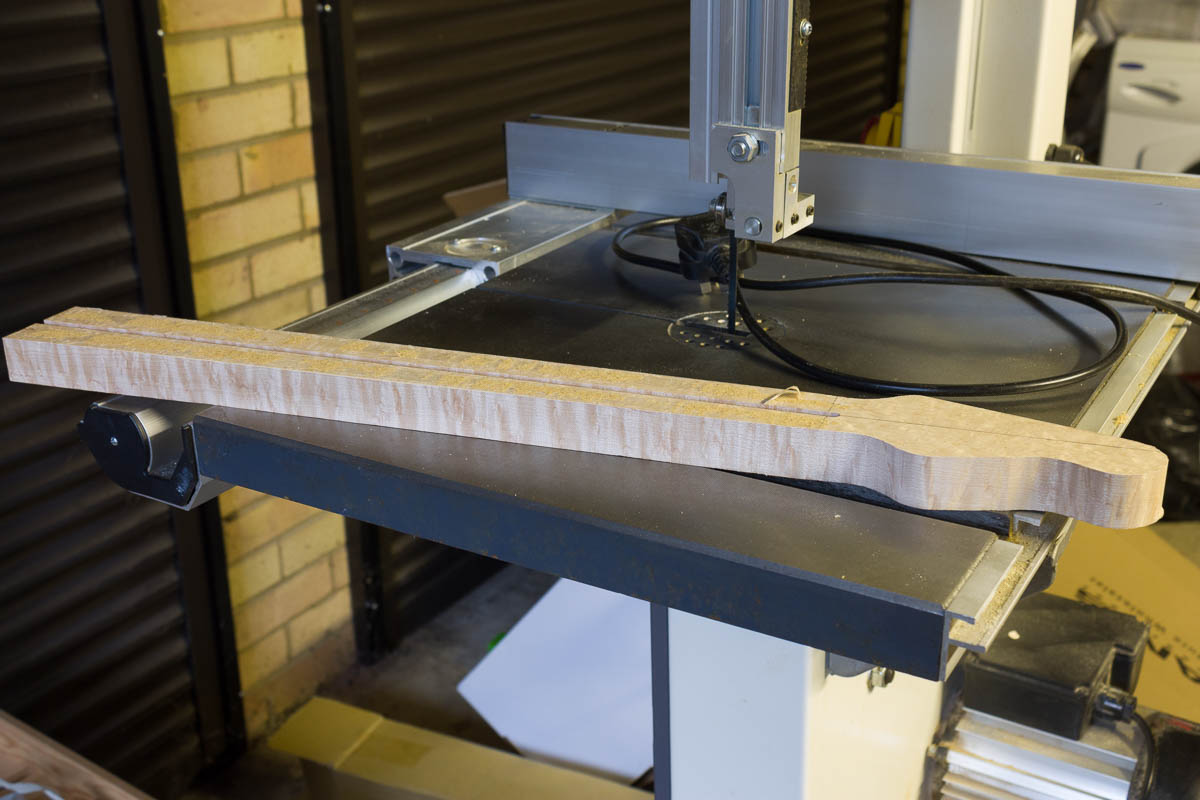
  • Rough cut the back of neck to 24-25mm thickness, to speed up shaping. Target is 22mm at the nut and 24mm at the 12th (to copy my favourite neck dimensions from the Axis Super Sport)
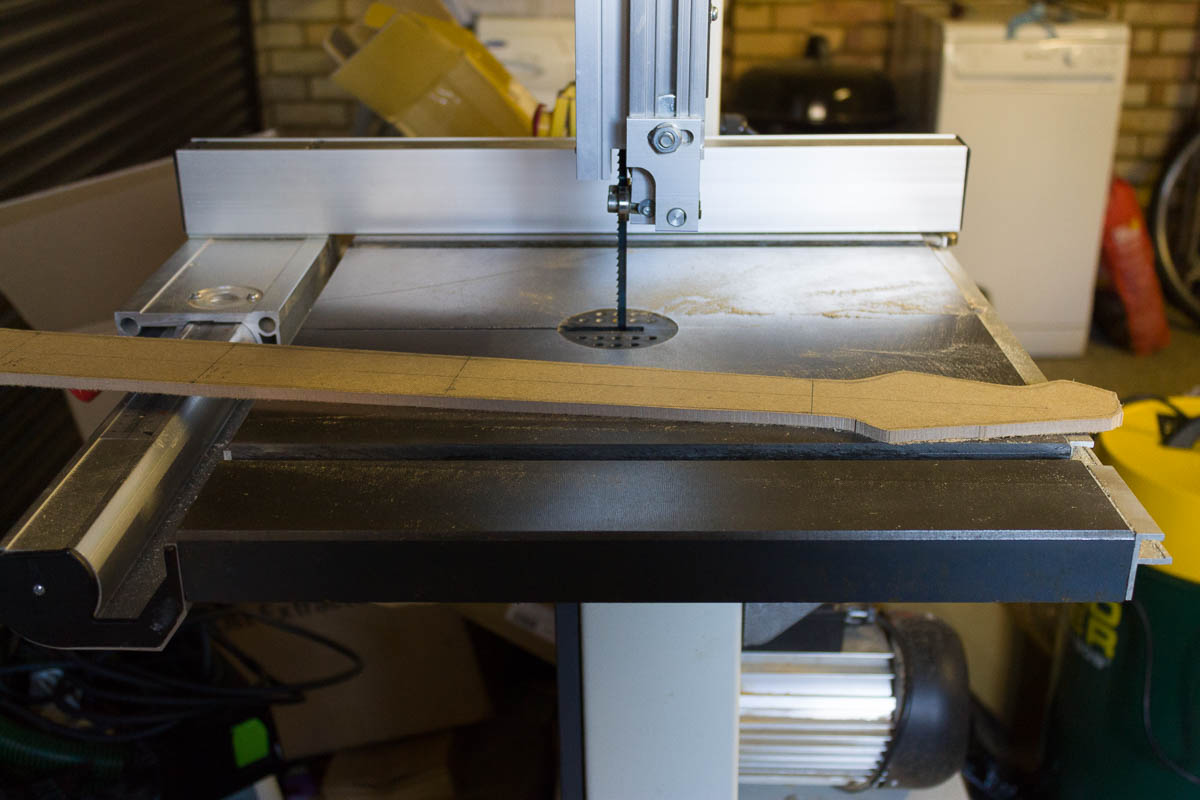
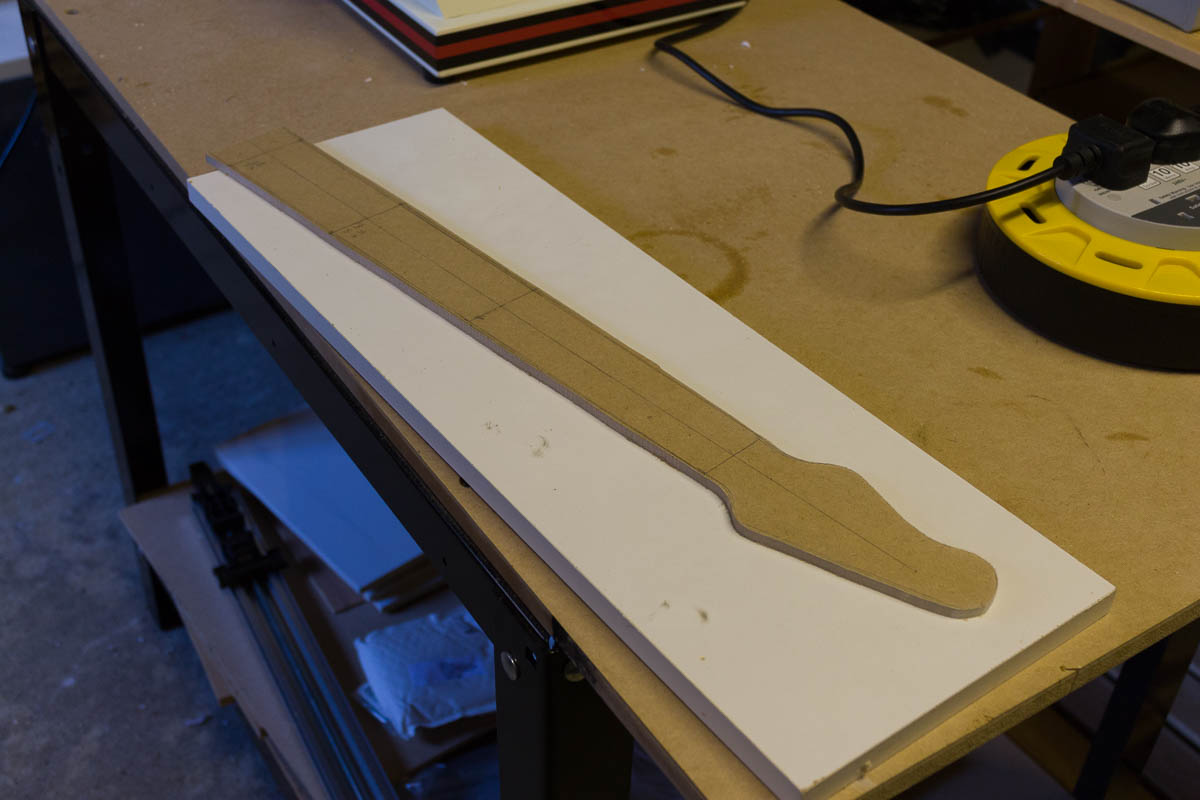
  • Tidy up the fretboard to the side of the neck. Cut close on the bandsaw and sanded to the side (normally I use a template bit on a router, but this time I just used the big sander)
  • Quick tidy up of the headstock front and back, nothing too precise as it always picks up marks during shaping
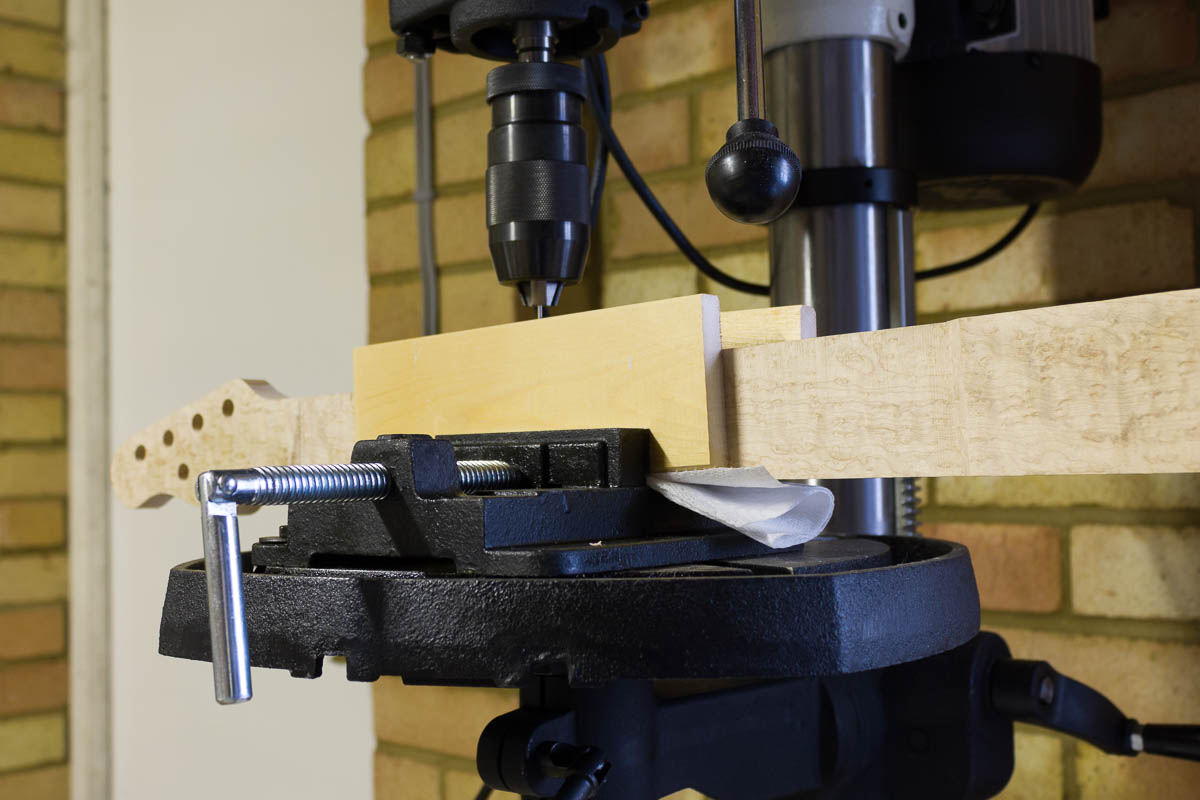
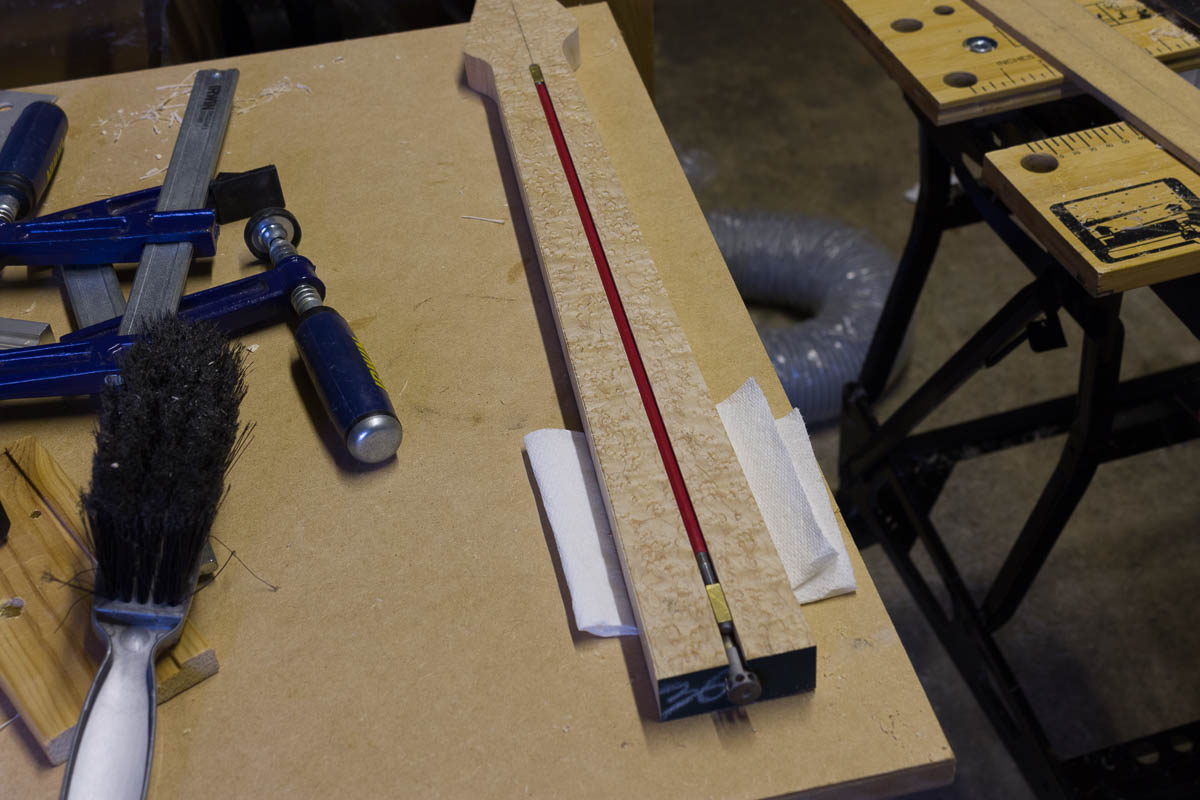
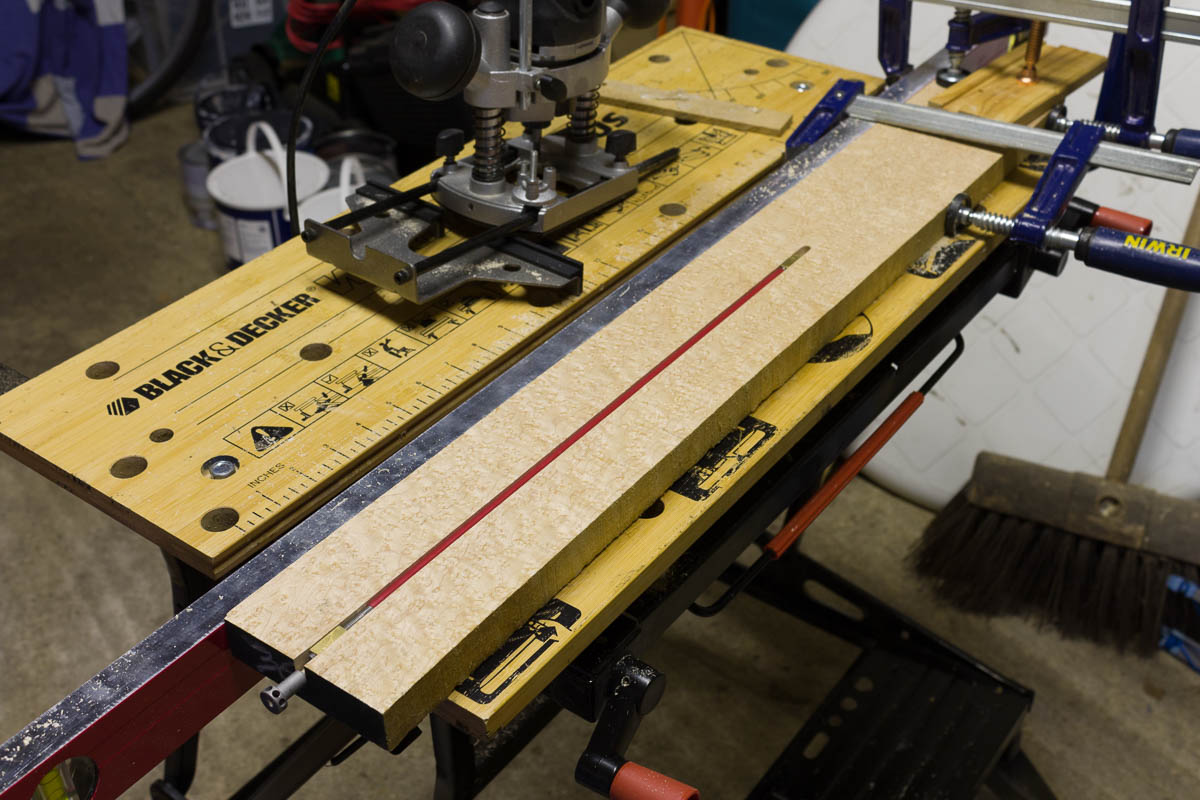
  • Drill side dots – 2mm bit. I should of done this before cutting down the back of the neck, instead I forgot. First time using a clamp on this drill press, wasn’t perfect, however I can see with practice it could be a lot more accurate than my last drill setup. I drilled them in the middle of each fret, height and width wise. I need to get more light sorted out over the drill press, as that was one of the main issues with checking alignment
  • Glued in white dots, as they provide decent contrast with the rosewood ‘board.


Posted in Guitar Three | Comments Off on Day 4 – Neck Progress

Day 3 – Body + The Return of Clampzilla

I’m taking a very different approach to building the body this project. Normally I build a 6mm MDF template, copy that to a 12mm MDF template and use that with a template cutter on my router to make the body. This time I’m going a lot more free-form (mainly as I now have a powerful sander). New method:

  • I copied the outline of the previous guitar template onto the body and by hand sketched a wider line.
  • Rough cut on the bandsaw, 2-3mm outside the line
  • Quick sand on the oscillating sander to get a feel for the shape
  • Refine and adjust as I go – not loving the flow of the top horn at the moment

I also knocked two frame pins into the neck, cut off their heads and use them to help locate the fretboard when gluing. Almost due blood when applying the glue, as I of course pushed my finger over one of them. Fretboard clamped up for 48 hours (taking a day off), hopefully ready to be trimmed to size on Sunday.


Posted in Guitar Three | Comments Off on Day 3 – Body + The Return of Clampzilla

Day 2 – Drilling into the Neck

A lot slower day (and I didn’t have as long working on it):

  • Drilled the hole at the end of the neck for the truss rod with a 10mm lip and spur bit using a piece scrap of wood to stop it wandering (I don’t like using these by hand, even with a guide).
  • Drilled the tuner holes (26mm apart, 12mm to centre mark from the headstock edge).
  • Started making an attempt at a jig for planning the top. Will find out tomorrow if it works


Posted in Guitar Three | Comments Off on Day 2 – Drilling into the Neck

Day 1 – Neck Outline

Neck build process (pictures below):

  • Template made in 6mm MDF. Neck measurements came from an Excel spreadsheet (which I’ll refine over time)
    • Number of frets: 21
    • Neck end fret: 22 (i.e. neck finishes were the 22nd fret would be)
    • Body join fret: 16
    • Added 2mm to sides for sanding – however I’m still not convinced my neck calcs are correct, as it still seems narrower than expected for the string spacing at the body end.
  • Truss rod channel cut. This is the first neck wood I’ve worked with that hasn’t been planned square. Instead I clamped a straight edge to the side of the piece and used that as the guide for the truss rod slot (which for a Stewmac Hotrod is 5.5mm wide, 11.1mm deep and 457mm long – use the router custom bit they make!).
  • Outline copied onto neck, rough cut on bandsaw
  • Double sided sticky tape on the MDF template and copy onto neck

Birds-eye maple seems prone to tiny tear outs and I had large one around the 20th fret on the low side. Hopefully with sanding it’ll be either fully removed, or very minor. However, in the bottom picture you can start to see the amazing figuring in this piece of wood. I hope it will be worth it!

Posted in Guitar Three | Comments Off on Day 1 – Neck Outline

All Change / Wood For Guitar 3 – March 2014

Wood purchased:

  • Neck Blank: Birdseye maple AAA, Size: 780mm x 100mm x 25mm
  • Fretboard: Rosewood – 24.75″ scale (precisely and not the “Gibson” 24.75″)
  • Body Blank: Swamp ash: Single Piece: 490mm x 370mm x 45mm
  • Body Top: Birdseye maple: 5-7mm thick (not enough for a carve once squared up)

As this will be my first glued top guitar, I didn’t want to spend a huge amount of money on the “deep” top I would normally need. PRS I’m told use a 28.5mm back piece with a 20.5mm maple cap – that isn’t cheap! I couldn’t find a maple fretboard that would look as special as the neck wood, so I’ve gone for the contrast of a really nice piece of rosewood. If I cut my own fret slots, I’d maybe try the MusicMan style of slicing the fretboard off the neck, but that’s brave! At this thickness of maple cap (~5mm), I doubt the maple will have any impact on the sound.

So out with the carve, in with the rosewood fretboard. Body shape is going to be the same outline, but 10mm bigger all around. I will start the neck first, with my normal spoke end trussrod. This time I’m going to use Schaller Locking M6, as I just didn’t get on the Nylon Schaller’s I used on the last build (hence upping the body size to keep balance).

New Concept (no idea what colour I’m going now) – using the actual wood. Not sure how a birdseye top will look after it dyed:

With a quick Photoshop mockup (aside: I really need to figure out a better way of “dying” wood in Photoshop)

Posted in Guitar Three | Comments Off on All Change / Wood For Guitar 3 – March 2014

Colour Concepts – Dec 2014


Some colour concepts, using a maple cap ontop of a yet be decided upon body wood. Maybe it’s time I became brave and tried a maple cap on a guitar…….

Posted in Guitar Three | Leave a comment

New Guitar – December 2014

It’s been over a year since I last built something. Life has gotten in the way, however I’ve decided to start up guitar build number 3.

So far it will a refinement / iteration on the previous build:

  • Double cut, 24.75″ scale length
  • A Schaller Hannes Bridge
  • A Single coil neck PU – maybe this time a blade due to string spacing?
  • A P90 Bridge – hum cancelling this time
  • Maple fretboard
  • Body wood tbd
  • Same control layout as last time

First rough mockup:

Posted in Guitar Three | Comments Off on New Guitar – December 2014

Speaker Added (1/2 Size) – Nov 2013


Posted in SpeakerCab | Comments Off on Speaker Added (1/2 Size) – Nov 2013

Box 1/2 Size – Nov 2013


Posted in SpeakerCab | Comments Off on Box 1/2 Size – Nov 2013

3 inch speaker – Oct 2013

Quick update, 3″ speaker has been removed and a 3.5mm mono jack fitted to it. Next I need to cut the baffle and fit it.

Posted in SpeakerCab | Comments Off on 3 inch speaker – Oct 2013