Half Size – Oct 2013


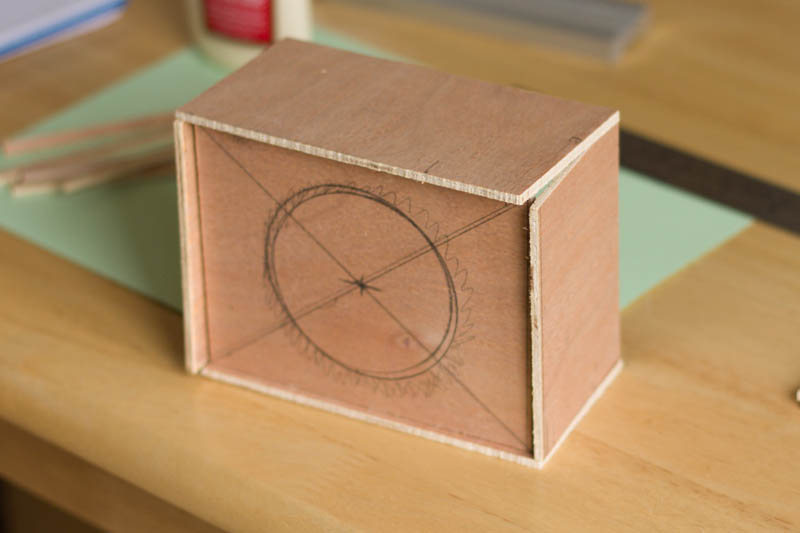
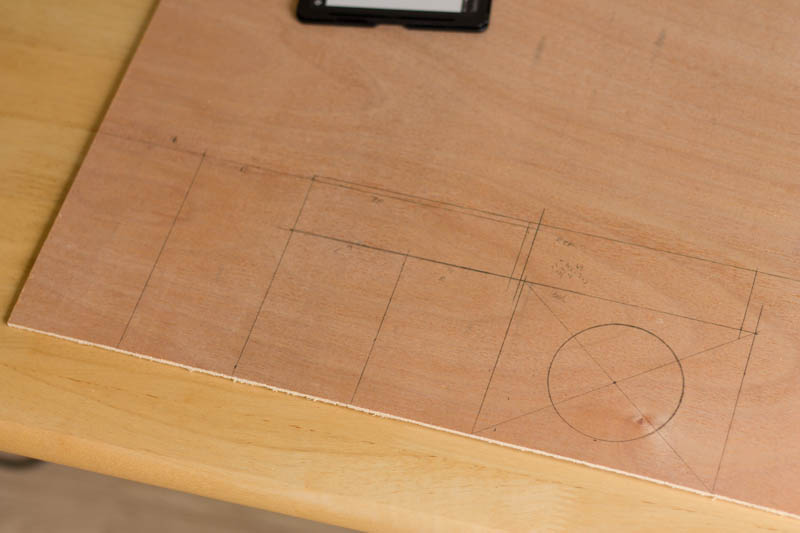
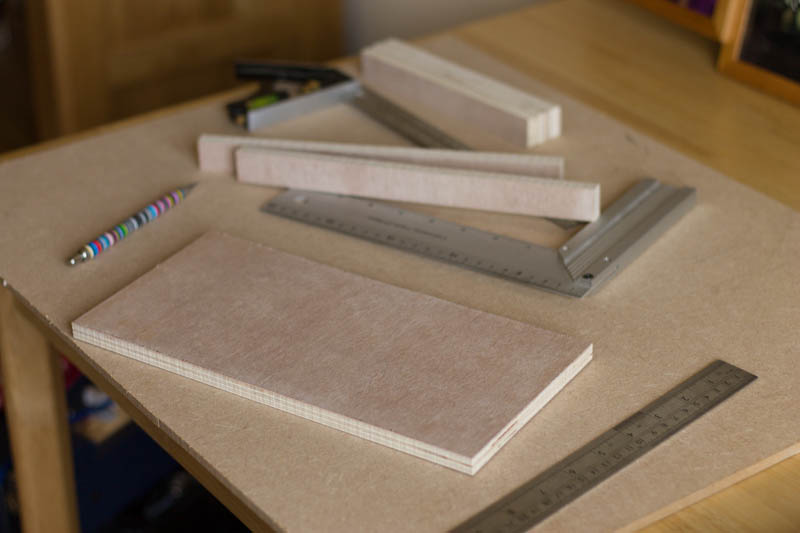
While waiting for the parts to arrive for my 1/4 sized cab, I started my 1/2 sized version. I decided to pop home via a DIY store and pickup some 12mm hardwood ply. I drew out the plans onto the 12mm (using a separate section for the back panel, baffle, batons to the rest). This way I could set the widths on the bandsaw fence once per section. Batons were cut from the ply, however it isn’t the straightest ply and thus the buttons are slightly bent at times.

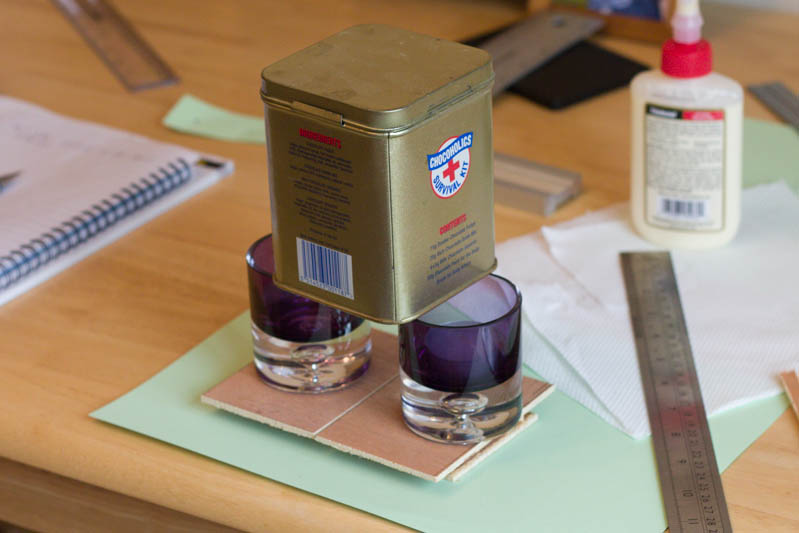
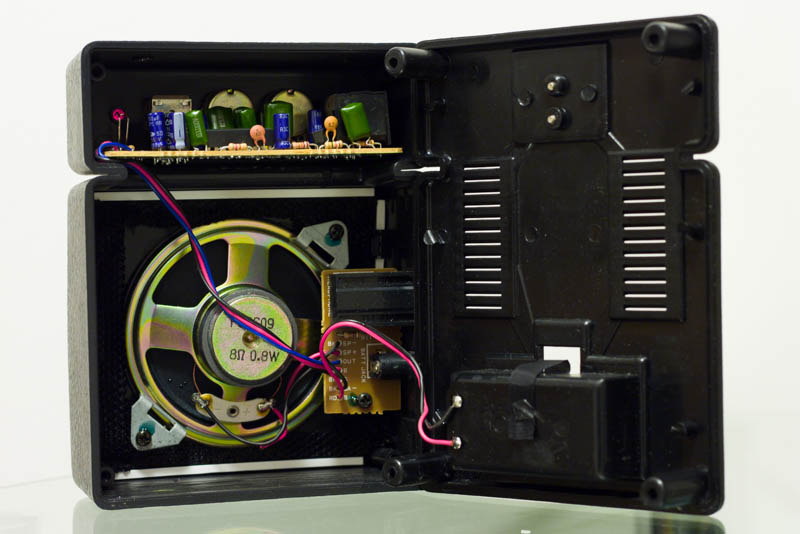
I glued on the horizontal batons to the top and bottom pieces. Working with 12mm ply is very different to the 3mm and gives a better feel for the end task. I decided to go with the Speakon connectors and the Jensen 6″ speaker. I had to pause on this as well, as I don’t own any clamps longer than 200mm! I’ve ordered some clamps big enough for the final project and these should hopefully be here for this weekend.

Posted in SpeakerCab | Comments Off on Half Size – Oct 2013

Box – Oct 2013

The box is glued together. For the real thing, I will need around 4 clamps of sufficient length. At this scale some small weights and a little clamp did the job well enough. Vertical batons are needed, however the dark/rain arrived, so they will have to wait till next weekend. In the mean time, the next task is to de-solder the speaker from the Marshal MS-2 and look into how I can mount it to the baffle.

I’ve ordered a 3.5mm socket (a full 6.5mm would drown this scale model). I’m considering using Speakon connections for the real thing, to avoid the potential damage to an amp by mixing up a guitar and speaker cable (as they are visually identical). I think I am going to move the next model up to a 6″ speaker, as the 5″ Jensen mod speaker is listed for acoustic guitars, while the 6″ looks like an upgrade for a Fender Champ.

Posted in SpeakerCab | Comments Off on Box – Oct 2013

Parts cut – Oct 2013

A band saw is a little overkill for this job, however it is the only thing I have with a fence, so off to the band saw it went. 10mins later, this is the end result (held together by friction). Lesson 1, draw the speaker alignment after cutting pieces. I set the fence once (which worked very well for ensuring all pieces match), however I didn’t take into the thickness of the blade at this size, 5 cuts later the drift is quite large. Hence the redrawn hole.

Internal batons are going to 6mm x 3mm strips of plywood cut off the waste.

I then glued on the horizontal batons (I’m skipping pins at this size). It was going to be too annoying to clamp properly, so some heavy glass tea light holders plus a random tin of coins as a clamping force. These set the front and real panels – so their positing is important. For the next build I’ll take more time over this stage, ensuring the batons are flat and true, placed in the correct position.

Posted in SpeakerCab | Comments Off on Parts cut – Oct 2013

Drawing out the plans – Oct 2013

12mm or 18mm marine grade Birch plywood seems to be the choice of professional cabinet builders. As this is scale version, 12mm wouldn’t be practical. I found some 3mm ply in the garage, which is “correct” for a 1:4 scale version.

I’m trying to build a cabinet based on opened back Mesa 1×12 wide body cabinet. When finished it should be approx. 14cm wide, 10cm high and 7cm deep.

Next time I would not put the back panels where I have. As this is a straight fronted cabinet, the first 4 cuts are all the same width. Instead I would put the real panels in the same line as the speaker baffle, as they should all line up (and the space to cut the batons from).

Posted in Uncategorized | Leave a comment

Marshall MS-2 Insides – Oct 2013

Taking the back of the MS-2, my plan is to remove the speaker and move into the next cab. If it goes well, I may rehouse the rest of the components into a little head – depending on time.

Posted in SpeakerCab | Comments Off on Marshall MS-2 Insides – Oct 2013

Cabinet Build – Oct 2013

I’ve decided to make a 1×12 speaker cabinet next. Due to their size, I’m going to practice on a few scale versions. First up is taking a Marshall MS-2 and turning it into a little head / cab. It has a 3″ speaker, so this will be a 1:4 scale model.

If this goes well, I’ll build a 5 or 6″ speaker. Jensen seem the only manufacturer that makes speakers that small, so it’ll be a Jensen MOD speaker.

Posted in SpeakerCab | Comments Off on Cabinet Build – Oct 2013

New Pickup (and new camera) – July 2013


The bridge pickup finally arrived for the guitar, a Lindy Fralin P90 with a stock number of turns. It will hopefully be a really good partner for the Lindy Fralin Blues Special in the neck. It’ll be my first “real” P90, as the one in the guitar at the moment is a £2 Ebay special while I chose the real thing.

Hopefully this is the nudge I need to finish the cavity cover (I’ve decided to finish it natural colour) and do the next stage of the setup. Also, from this point forward the little Canon Ixus is being retired from photo duty (it’s done great service) and I have a Canon 1100D to take over.

Posted in Guitar Two | Comments Off on New Pickup (and new camera) – July 2013

Guitar 2 Finished (mostly) – June 2013

Quick Improvised Sound Clip

Posted in Guitar Two | Comments Off on Guitar 2 Finished (mostly) – June 2013

Neck Finished – May 2013

The neck is now finished. For the headstock I did two mist coats after the decal, then a thicker coat. After 24 hours (could of been longer), I levelled the surfaces with some P2000 used wet. A further 3 coats finished it off with a final sand (with a week between the last coat and the sand to let it fully harden). The end result is 100% smooth but I didn’t want a sand through. No-one would notice but me probably, so I decided to hammer in the tuner bushings and add the tuners. The tuners went on easily enough and I’m happy with their alignment. The large pearloid buttons are too big for a headstock this small, I might order a set of the mini buttons.

The neck body was taped over before I sprayed the headstock, using the line of the nut as a marker. This means only the headstock has been lacquered, the result of the neck will be “unifinshed” in the style of my MusicMan Axis neck. Once the tape was removed I had a nice clean line. The rest of the neck was given a quick sand with P800, then a single very light coat of Tru-oil. This was then sanded with P2000 when dry and a wax top coat applied (again all Birchwood Casey products).

Overall I’m very happy with the neck. The frets need a lot of work, but that’s a setup issue that I’ll get onto next.

Posted in Guitar Two | Comments Off on Neck Finished – May 2013

Body Finished (Almost) – May 2013

After 9 coats of Tru-oil, wet sanding between most of them with P2000, I’m calling time on the finish. After levelling the finish, I found I was struggling to get the shine back. After reading online about people using some polishing compounds, I remember I had a Fender polishing kit in the house. After a lot of elbow work and the scratch removing compound (which I’m guessing is just T-Cut in a different form), the body is “done”. It has a lot of little issues, but for a first attempt at using Tru-oil and staining on a guitar I’m happy.

In the test fit, I found:

  • The neck pickup screws are too long. Shorter ones ordered from Ebay…..
  • The finish has made the pickup selectors hole to small, it needs sanding a touch wider
  • The capacitor I used on the tone control is huge and just annoying. It should fit with some bending of the legs
  • The strings are never going to align with the pole pieces on the neck pickup – but hey. If it’s a problem I could always get a blade style pickup

Once I’ve fixed these little issues and bought the bridge pickup – maybe a Lindy Fralin P90- the guitar body should be pretty much “done”, bar a bit of soldering.

Posted in Guitar Two | Comments Off on Body Finished (Almost) – May 2013