Headstock Logo 2 – May 2013

Water slide decal applied. I did a quick test run with a blank bit of the paper, then onto the real thing. It didn’t tear and I must confess once it was on and crease free, I didn’t dare move it about.

I’m happy with the result. Now to let it dry (it says minimum 24 hours, but it’ll probably sit for the next 3 days), then I can overspray it. Should be able to cover and level it in a weekend, leaving a couple more coats on top to finish off the headstock.

Posted in Guitar Two | Comments Off on Headstock Logo 2 – May 2013

Headstock Logo – May 2013

A shot of testing out how the logo would look on the headstock for the first time. The tuner bushing is there to make sure I didn’t cover part of the logo when I push them in later.

The head stock has had two mist coats of lacquer and a third thicker coat applied (as the decal can’t be applied to bare wood). I need to wet sand it smooth next, then apply the water slide decal. I was terrible at applying the decals as a child – so lets hope age helps……

Once the decal is dry, two more mist coats are applied. The finish is then sanded flat – at which point the decal edges should be invisible. After that it’s “some” number of coats it’ll be ready. I’m only lacquering the headstock, the rest will be a light coat of tru-oil as, after my MusicMan, I love the feel of unfinished necks.

Posted in Guitar Two | Comments Off on Headstock Logo – May 2013

Electronics – May 2013

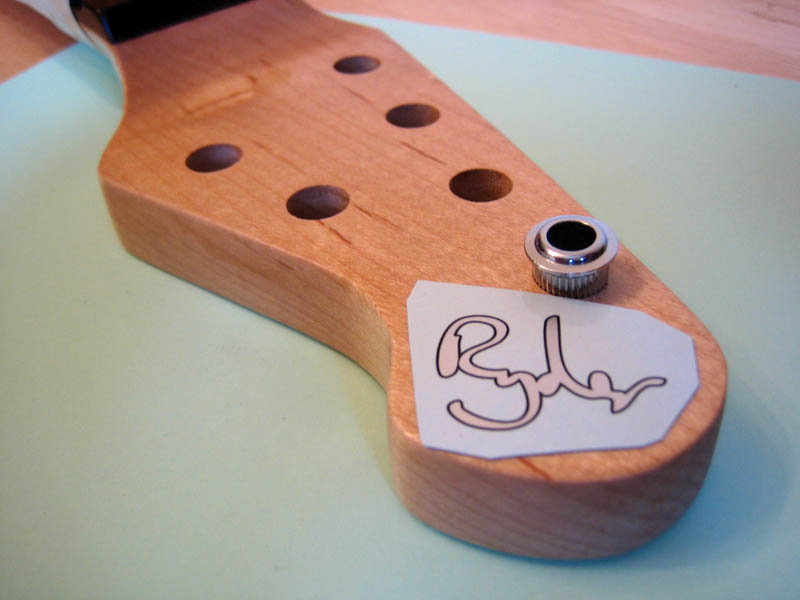
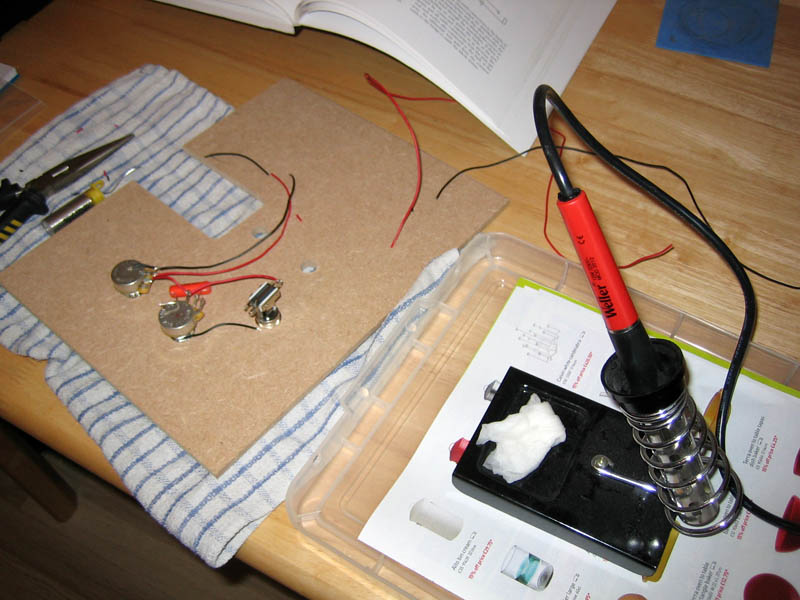
I decided it was time to start the electrics for the guitar. I drilled three holes of the correct size (10mm for the pots, 12mm for the switch), in same layout as the guitar, into a scrap piece of 6mm MDF. Using this I can cut all the wires to the correct length and it holds the components as you try to solder them. This shot is from about half way through, about to add the ground wires (and thus swapping to a bigger soldering iron). As a side note, while drilling the holes, it did remind me that I want to get some more of the Colt drill bits, as they are superb for the money.

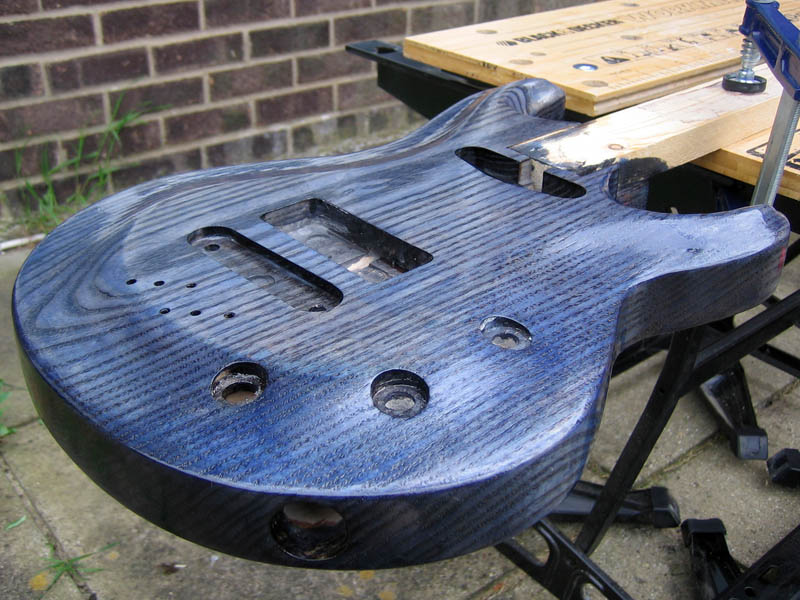
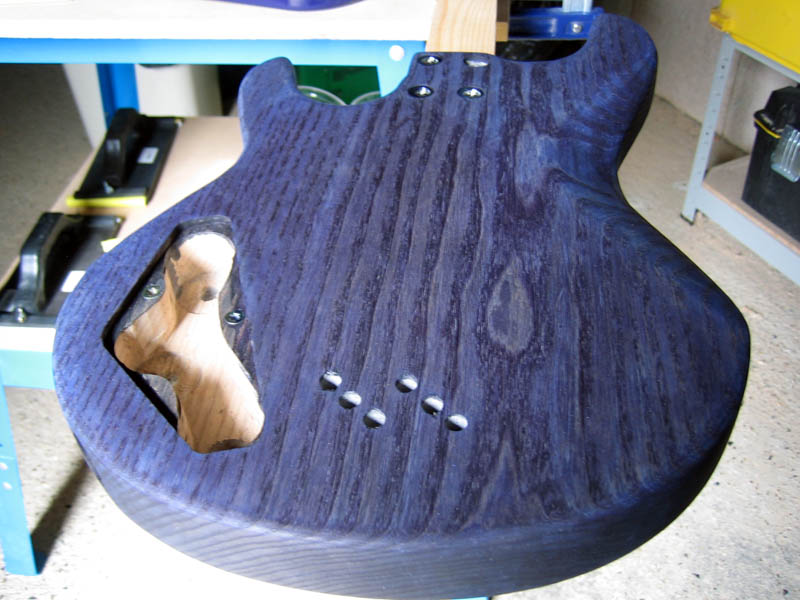
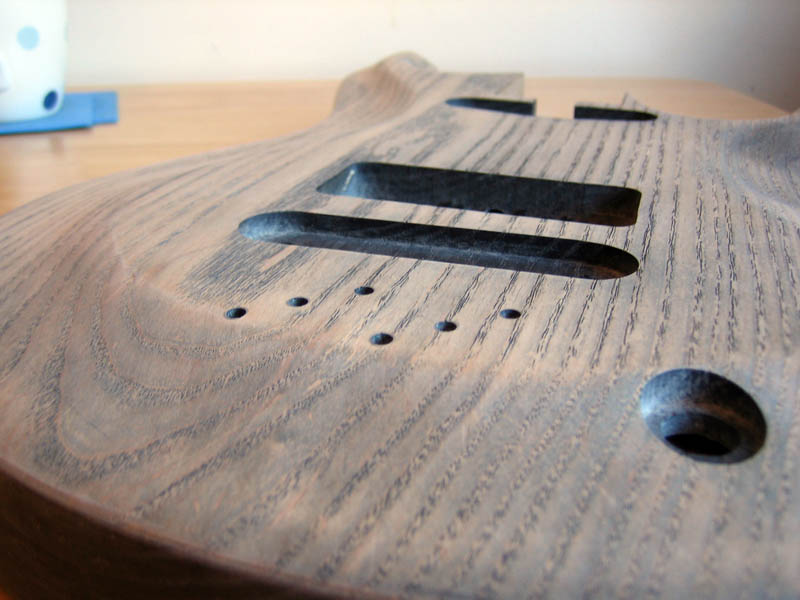
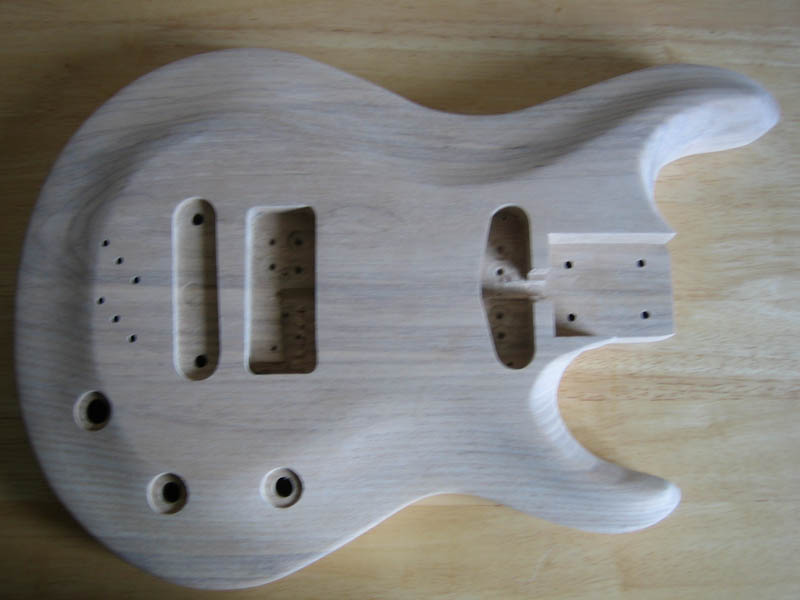
The electronics for this guitar is very simple, far more so than my last guitar. Two pickups (Lindy Fralin + something P90), two CTS pots (250k), tone control capacitor (it’s huge….), SwitchCraft switch and a standard jack socket.

With this done, I only need to add the pickup wires, attach the bridge ground wire and solder on the jack.

Posted in Guitar Two | Comments Off on Electronics – May 2013

Tru-oil – May 2013

I ended up doing 4 coats of the Sealer and Filer, the grain is still not 100% but it’s close enough. Also, the risk of sand throughs meant I quit while ahead (well mostly, the dye isn’t that even as this shot shows). The lack of evenness is less obvious when holding the guitar, the grain holds your attention – which was the whole goal. I like guitars where you can tell they are crafted from wood.

This is after the first coat of Tru-oil has been applied. It was at this point I truly noticed the mess that was in the control recesses. I’ll need to clean these up before doing the next coat. I seems the sealer has been building up in them and its too thick to dry. The finish is so far showing a lot of imperfections, I’m wondering if after 3-4 coats if I’ll have to cut it back down with 1000 grit and see if I re-establish a true surface.

Posted in Guitar Two | Comments Off on Tru-oil – May 2013

Sealer & Filler – April 2013

After a third coat of the blue dye, I applied two coats of Birchwood Casey’s Sealer and Filler. Ash has huge grain, even after two coats you can clearly see the pits due to the grain in the top photo. Applying the filler in an even manner is tough, the first coat ended up with drips on the sides which have been hard work to deal with. Sanding back has to be done in a very careful manner, or you go through the stain. I did this in one spot, however I’ve managed to locally patch the colour using some dye on kitchen roll. I must be missing a trick here, as everyone else says “just sand back”.

This is the first point the “real” colour of the guitar comes through. It’s a strong dark blue which so far looks like it could work. I quickly pushed in the neck to grab some shots of how it might look. The shine is lost once the sealer is sanded back, though it comes back when the tru-oil top coats are added. I’m expecting to at least one more coat of the sealer, then onto the 8-12 coats of tru-oil.

Posted in Guitar Two | Comments Off on Sealer & Filler – April 2013

Blue Coats – April 2013

First and second blue coats applied. Neither photo is very colour correct, as my little Canon Ixus seems be struggle under less than perfect light not to get the colour correction slightly off. The bottom shot is slightly tweaked to be closer to the real thing (again lots of blue light, this time from the left).

The result is OK, but not perfect. I need to remember this is my first attempt at dyeing wood and it wasn’t going to be amazing on the first go. Some swirl marks on the back and the top left horn is lighter than the rest of the top. I’m considering a third blue coat before moving onto the sealer/filler.

Posted in Guitar Two | Comments Off on Blue Coats – April 2013

Sanded Back – April 2013


Sanded back the black dye. 240 grit for the most part, with 320 on the end grain. I tried to make sure I was always going with the grain, where possible. This stage showed up any finishing marks that where missed in previous sanding, as it adds contrast to the whole surface – not just the grain. The dye is still black, it’s light coming in the window in the second shot that is causing the blue colour cast.

Sanding the front and back was relatively quick, the sides and inside of the horns took a long time. Still a bit more work to do on the sides before it’s ready for the blue coat. A spindle sander seems more attractive the more I work on guitars……….

Posted in Guitar Two | Comments Off on Sanded Back – April 2013

1st Coat Body – April 2013

One of my few, “in action”, shots. Black coat has been applied, which is to make the grain stand out (well that’s the plan). It will then be sanded back with 240, to leave it only in the grain. I’m using a pine baton to hold the guitar while finishing (thus I can do all the sides at once). Notice I missed with the 4th screw hole as the drill press wandered on that one. Even in pine it wanders, so I must use a guide for all holes that matter.

Coat isn’t that even, but it’s going to be mostly sanded off. This is an alcohol based dye, so it’s application time is very short, but it’s very low hassle other than that.

Posted in Guitar Two | Comments Off on 1st Coat Body – April 2013

“Pre-Finished” Body – April 2013

An, out of focus, shot of the body after final sanding. If I get more into this blog and building, I need to consider how I document the work. For now, it’s blury low res images!

The body was sanded in the following order:

  • 80 grit
  • 180 grit – too big a jump I know, but I didn’t have anything to hand in between
  • 240 grit – I was planning 220, but I had 240 – so 240 grit it was!

One thing that didn’t work, I did the round over and then I sanded the top. Getting out the tool marks from the top actually took out the round over. I must of lost a lot more of the top than I realised. So the top round over is mostly by hand in the end.

I’m quite happy with the end result and it’s a huge amount better than the first body.

Posted in Guitar Two | Comments Off on “Pre-Finished” Body – April 2013

Neck Building Post Mortem – April 2013

Having built my second neck from scratch, I wanted to look back at what went well and what didn’t. Post mortems are really useful things if you remember to re-read them before you repeat a task. For this reason I’m putting it up on my blog to ensure I don’t lose it.

The Good

  • Overall it looks a better result
  • Good quality chisels make the nut cutting a lot nicer
  • Sanding around the headstock edges is a lot better. Routing these bits seems to give rough results around the bottom of the headstock, requires time and patience to tidy
  • Having a bandsaw and a plan for thining the headstock (and blending in the slope behind the nut) means a lot better result
  • Tuner holes must be drilled using a guide, the drill press has too much wander
  • Brass inserts for the cavity cover seem a good idea. Buy for the neck screws?
  • Truss rod with wheel at bottom are easier to make
  • New heavier duty fret snipper is easier, no need for these posh guitar ones

The Not So Good

  • Rosewood chips very easily. Be more careful around the nut and when beveling the frets with a file
  • My fret hammer technique doesn’t work. Need to buy a fret pressing shoe for the drill press
  • My neck shaping method is still completely hit and miss. This was meant to be a copy of my MusicMan axis neck which is amazing (the best I’ve ever found). It isn’t even close. Need to look at profiling it better
  • The side dots are messy. They are too small to clamp and yet the precision I’m getting without a guide is way off. Not sure the solution for this. Maybe purchase a fine hole marker?
  • After sanding the neck is 1mm too narrow at the nut. Build with this buffer in mind
  • Counter-boring the end of the truss rod hole needs a new plan. Drill guide?
  • Keep marking the next fret, when cutting frets from the reel
Posted in Guitar Two | Comments Off on Neck Building Post Mortem – April 2013