
The “build” phase is done! Now onto the setup. Still to do: the nut slots need properly cutting and there is one or two dodgy frets. Time to learn how to level and dress frets I guess.
The “build” phase is done! Now onto the setup. Still to do: the nut slots need properly cutting and there is one or two dodgy frets. Time to learn how to level and dress frets I guess.

The neck was bought pre-fretted with a padel headstock. I’ve cut it to into a Telecaster headstock shape, except I was copying from a printout and didn’t get the top curve quite right (and it’s a touch wider than it should be) – so it’s “unique”.
The neck has been oiled and drying for the last few weeks. I’ve drilled the holes for the tuners and string tree. Waiting on some super fine sandpaper to remove the tackyness from the back of the neck, fretboard and to polish up the frets. Going to be time consuming but it’s getting closer to stringing up for the first time.
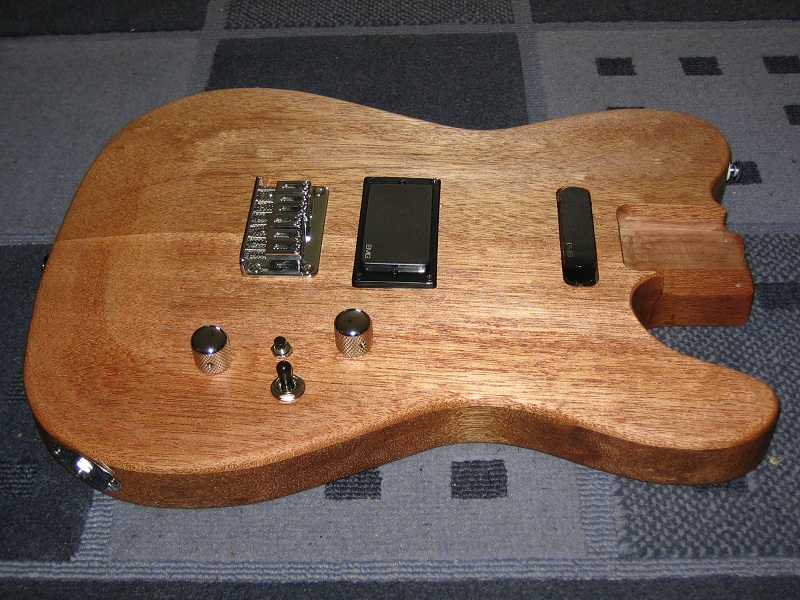
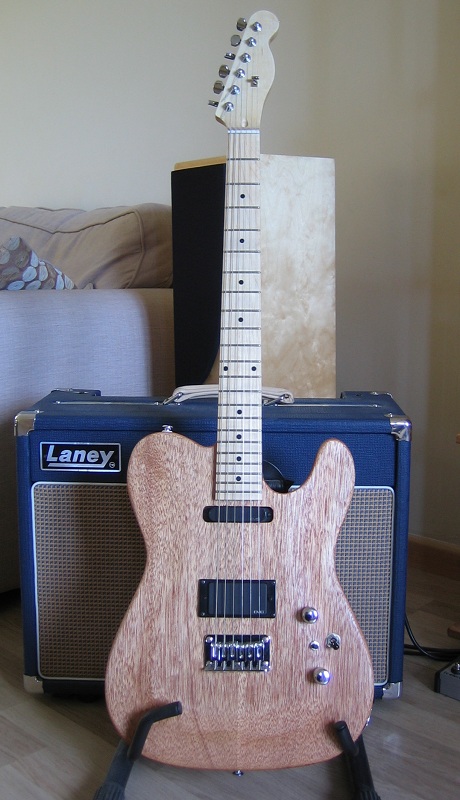
The body finished, electronics fitted and tested (by holding the guitar against another one). Bit darker than I expected. Now onto finishing the neck, which for some reason I have no pictures of (time to go take some).
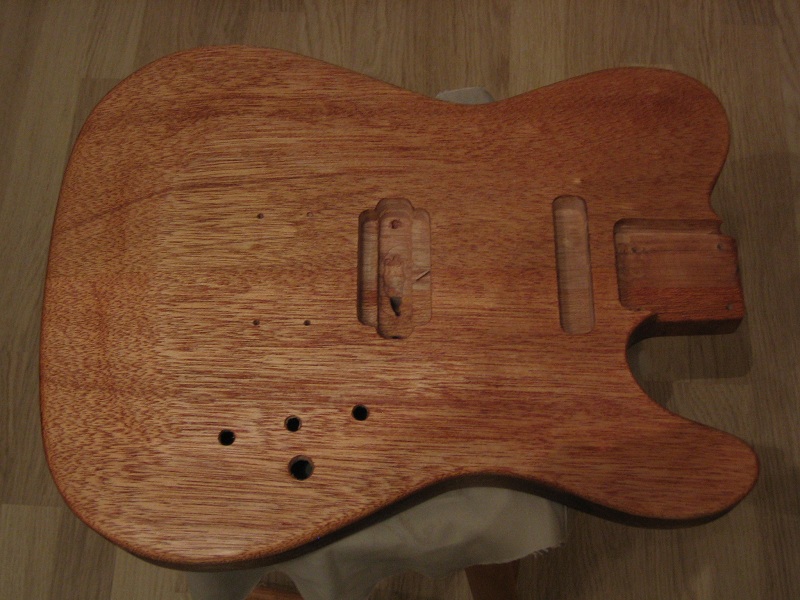
3 layers of Danish Oil with a fair bit more sanding. Now to let it dry for a week.
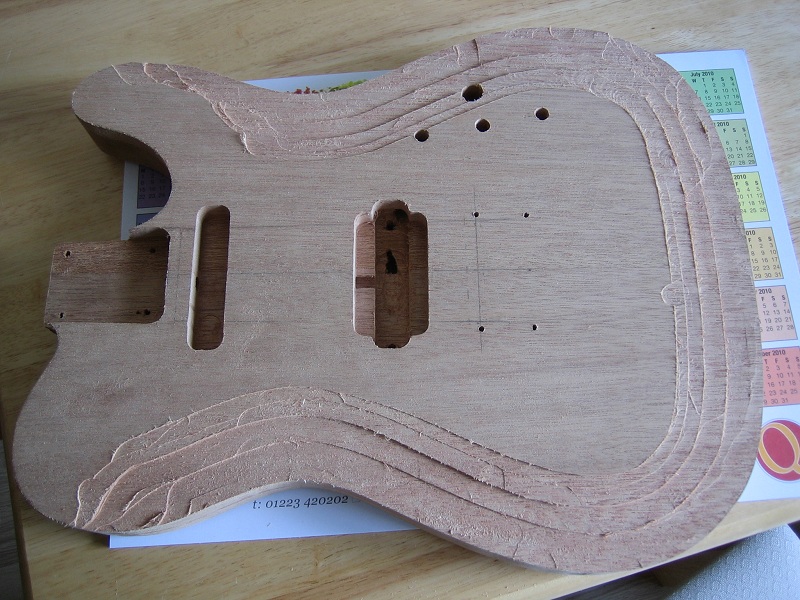
The body has now been planed, sanded (though this shot makes it look flat topped again) and cavity cut to full depth. Starting to look like a guitar again.

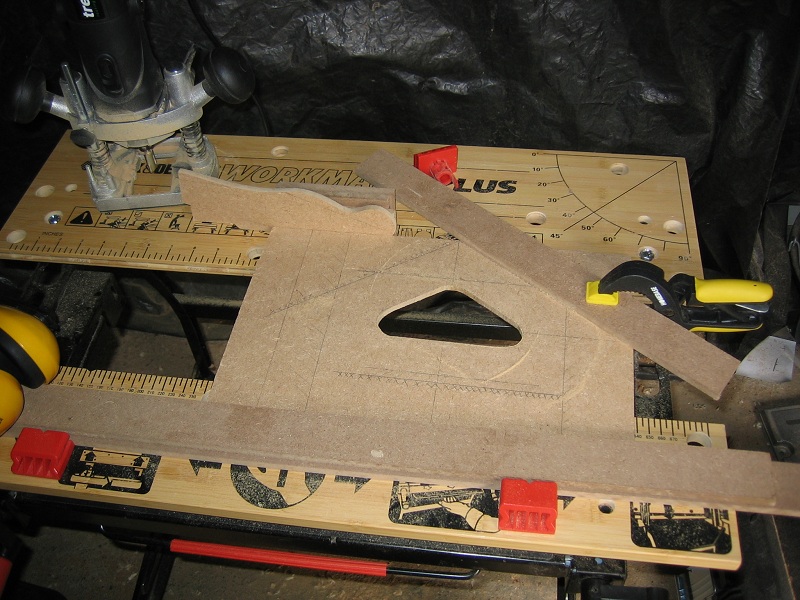
Not very clean, but I think that’s due to the flex in the MDF. Next I traced around the bottom of the steps with pencil. Once all the pencil is gone, you know you’ve carved deep enough with the plane.
Sawdust maker in action. The piece of paper underneath is to allow it to slide along smoothly (and yes space on the work top is a bit tight!)

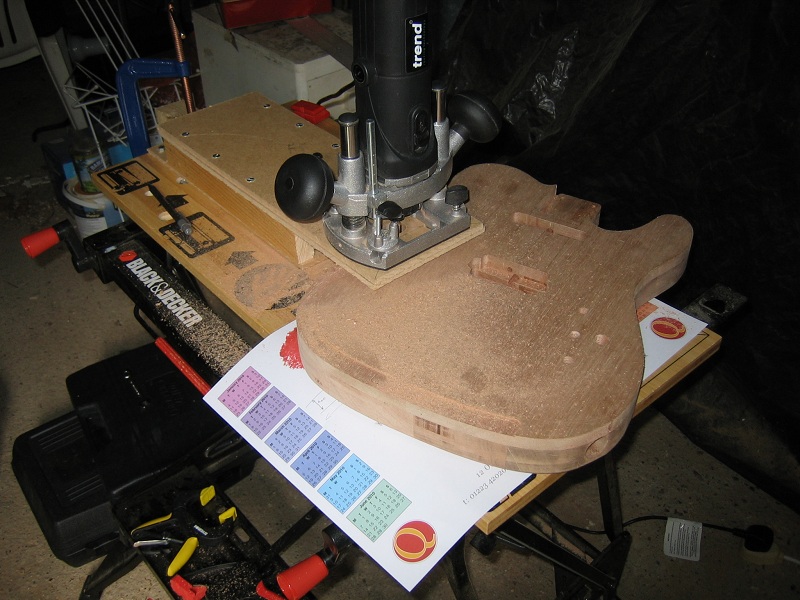
Using a great guide on how to carve a guitar top without building 5-10 different sized templates (Link), I set about building myself a Sawdust Maker. Here it is ready for action. The router and the box are heavily bolted to the table. However the 2 pieces of 4mm MDF flexed too much, next time something more rigid.
The theory is to cut a series of steps as a guide and then smooth off with a violin finger plane.

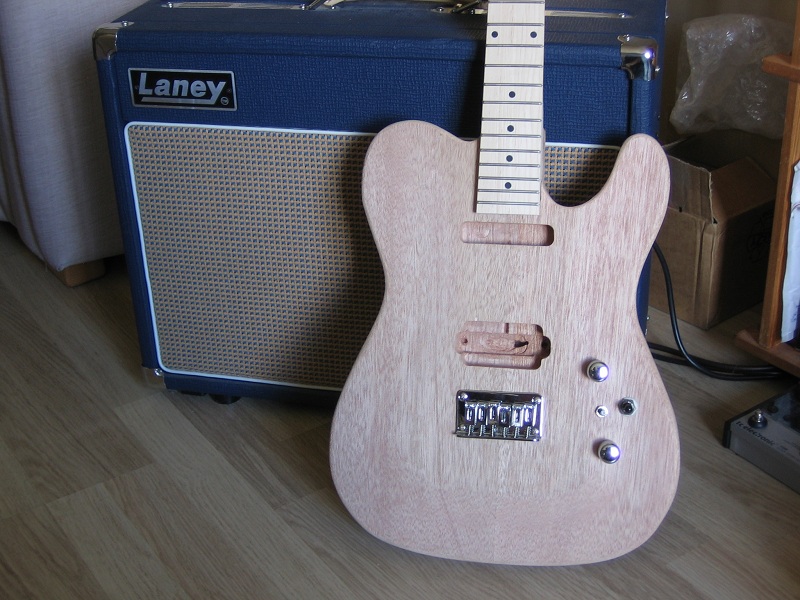
Looking good, now for the top carve….
The cavity covers as going to be Mahogany as well, using 4mm thick faceplate pieces. First things first, I need to work out what shape they will be, so I made the body template. This is also a shot of the work in action, nothing high tech here – a workmate bench and some random clamps and making it up as I go along….
Once these holes were cut I used a hand saw and sandpaper to shape the faceplates to the correct shape.