Project 2 – March 2012

null

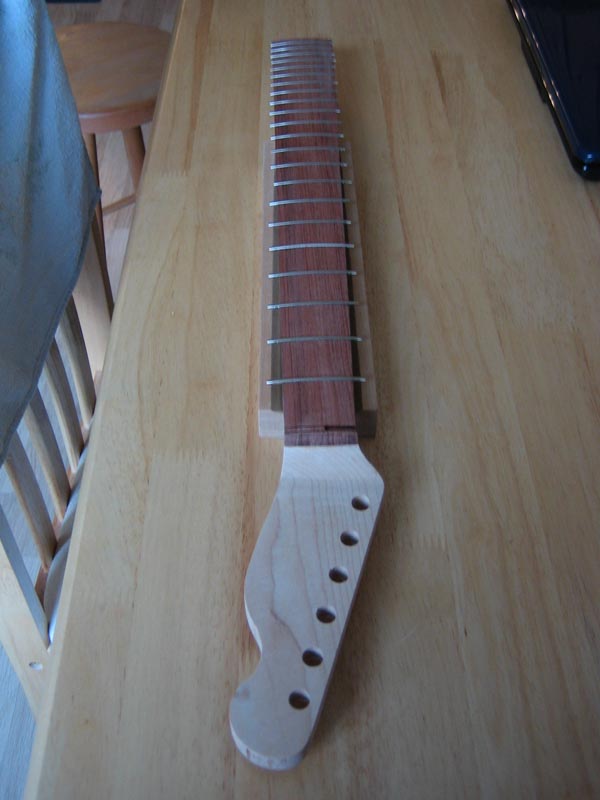
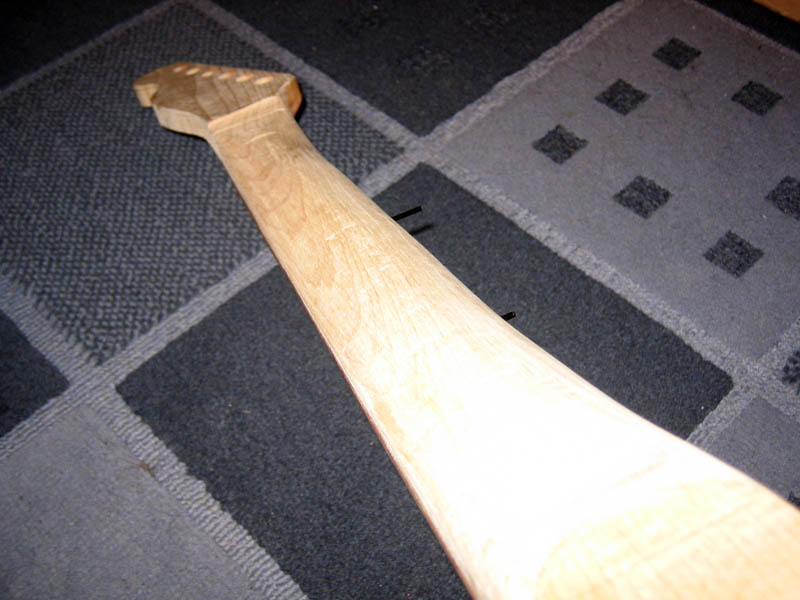
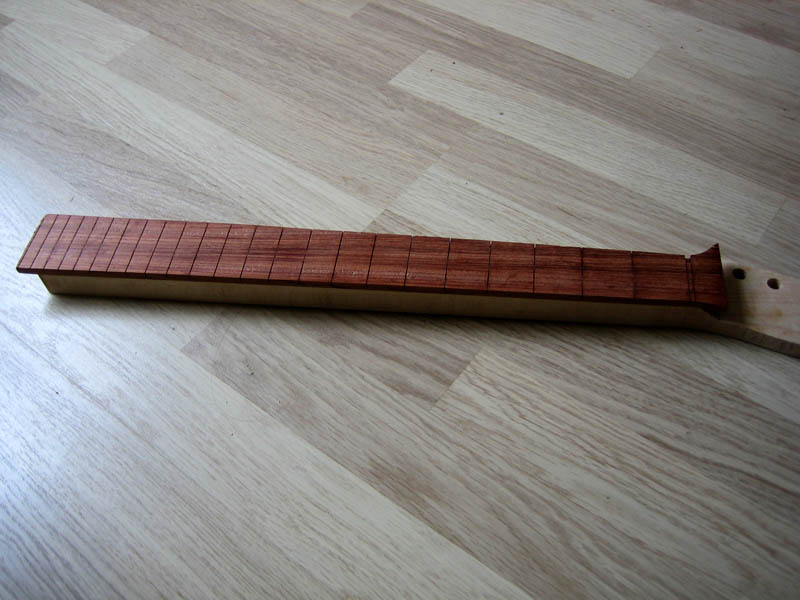
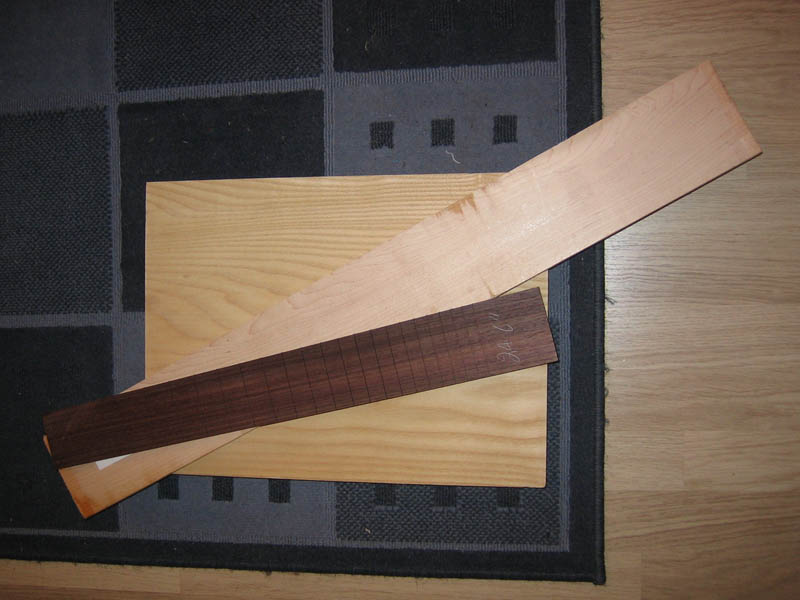
The starting point for my second guitar build – three lumps of wood! The body is single piece of ash, which is going to be combined with the usual combination of a maple neck and rosewood fretboard. I was going to use a rosewood neck blank but I think I’ll leave that till I’m more confident building necks.

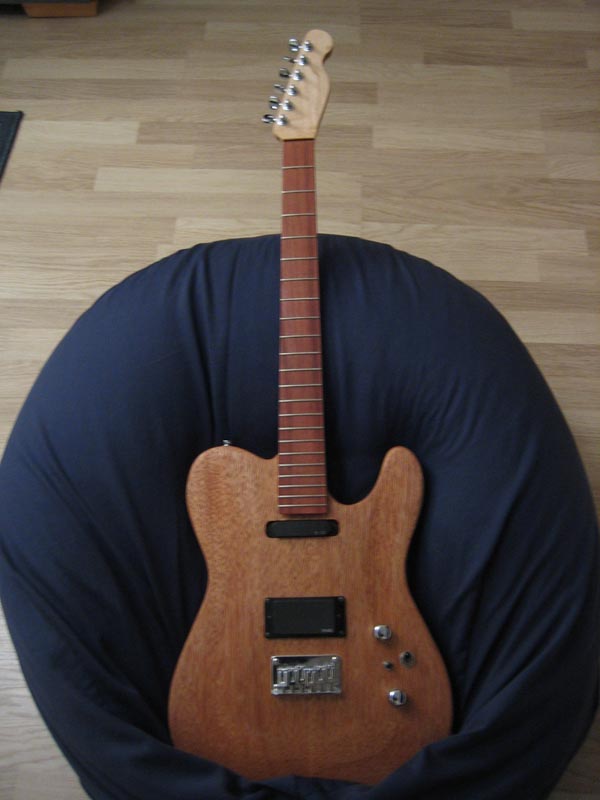
The body blank is heavy and slightly too small for a telecaster body. I’ve decided to keep it as a one piece body and scale a body down to fit it. This is going to be a “Gibson” scale length guitar, as I’ve never owned one and fancied trying the looser feel. Traditionally these scale length guitars come with double humbuckers, however I already have two twin humbucker guitars, so it’ll be something different.

Posted in Guitar Two | Leave a comment

Finished – October 2011

After fighting the nut (three attempts to glue it into place), the slots have been rought cut and strings added. It still needs a decent setup, however it plays a lot better than I expected.

Project “done”

Posted in Neck Build | Comments Off on Finished – October 2011

Almost there – October 2011

(Terrible photo, sorry!). The frets have been trimmed, levelled (needed quite a bit due to my dodgy first attempt at fretting), re-crowned and polished.

I then finished the neck in Tru-Oil, with a wax top layer for the back of the neck. One of the tuner locating screws broke off when fitting, hopefully it won’t be a problem….

The neck heel is a bit smaller than a “standard” Fender neck (I wanted to really narrow neck compared to the one I used before), so there is now a fair gap on the low side of the neck pocket. It’s a bit annoying visually but makes no difference to the result. Only the nut to go.

Posted in Neck Build | Comments Off on Almost there – October 2011

Frets – September 2011

Putting sandpaper on straight edge to identify the “high” spots on the back of the neck, I worked on the neck profile some more. Finished off with a lot of sanding to remove the tool marks.

This is my first attempt at fretting and it’s not quite as easy as it looks. All frets are in, now to trim, file, level and crown….

Posted in Neck Build | Comments Off on Frets – September 2011

Spokeshave – July 2011

This is the part of the neck build I’ve been fearing the most, time to shape the back of the neck. Just before I started, I drilled the holes for the side position markers.

I was about to write I’d never used a spokeshave, but that goes for every tool so far on this little voyage (well beyond a drill and a screwdriver). It didn’t take too long to start to look like the back of a guitar neck. I started by using my little plane to remove the saw marks, then onto the spokeshave. It’s a poor quality photo, but you can see the neck is fairly uneven, a fair amount more work to do.

Side dots have been glued in, but not cut to length yet (you can just about see them sticking out on the right).

Posted in Neck Build | Comments Off on Spokeshave – July 2011

Fretboard On – July 2011

After removing the clamps and making sure the join was ok, time to trim the fretboard. The recent addition of a bandsaw made the next job a lot easier (else it would of been back out with the coping saw and more wood to remove in the routing stage). Onto the bandsaw in went, to trim the board close to the edge of the neck, then a router with a template bit to trim it flush. It’s actually starting to look like a neck.

The next job is to trim the top of the fretboard, again with the bandsaw. Once that is done, I bought curved sanding block (10″ radius in this case) and some sticky back sandpaper, to add the camber to the neck. Draw a line down the centre of the neck and stop once you’ve removed the line.

Posted in Neck Build | Comments Off on Fretboard On – July 2011

ClampZilla – July 2011

I haven’t done any work on the guitar for a long time – time to get back into it.

Truss rod is fitted after a small amount of Dremeling at the top of the slot to make room for the extra depth of the nut. Fret board is then glued on.

Posted in Neck Build | Comments Off on ClampZilla – July 2011

Headstock – May 2011

Tuner holes drilled from the back, ~3/4 of the headstock deep. These are then revealed when the headstock is taken to its correct depth.

With no bandsaw or planer, I used the same “saw dust maker” as used for the body to reduce the headstock thickness by about half. I improved my methods to get a far flatter result this time. I covered the workbench with a large sheet of MDF to give a flat consistent surface and tried to keep the neck as flat to the table as possible.

Slope roughly cut with a hacksaw, much sanding to follow to tidy up.

Posted in Neck Build | Comments Off on Headstock – May 2011

Neck Outline – April 2011

(Stage 2 not shown, mark the centre line on the blank and cut the truss rod channel)

Copied the MDF template first onto thicker MDF (1/2″) as there is more for the bearing to run on.

Traced the outline onto the neck blank, rough cut with a Jigsaw.

Attached the template with clamps and double sided tape, routed neck to shape. Few little mistakes, which hopefully will sand out.

Posted in Neck Build | Comments Off on Neck Outline – April 2011

Neck Build – Start – April 2011


Starting on my first guitar neck (to replace the bought neck used in last years build). Make a template for the neck in 1/4″ MDF by:

  • Drawing a centre line for the neck
  • Marking the nut position and width
  • Marking the end of the heel and width
  • Joining up the sides of the neck (nut to heel)
  • Tracing on a headstock shape
  • Cuting out using straight edges and a router
Posted in Neck Build | Comments Off on Neck Build – Start – April 2011